If you've been on social media platforms a lot lately, there's a very high probability that you've increasingly seen a trend in photography:
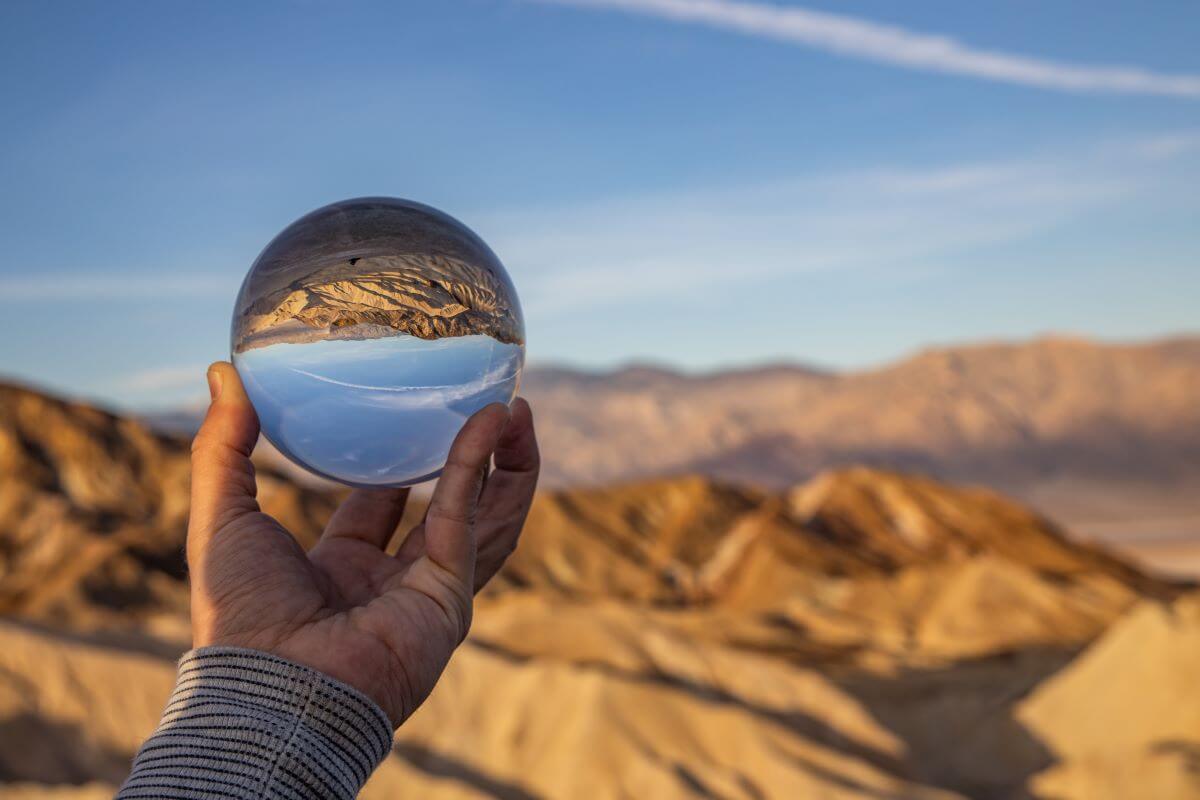
And that is the glass ball (also called a lensball).
This type of photography gives us a unique view of the world. A seemingly upside-down world, trapped inside a glass sphere. With impressive 180° views of the scene, it's a new interpretation of the desire to see "ultra-wide" landscapes. At the same time, there's also plenty of room for creativity!

Due to the special optical properties of glass spheres, they are not only versatile accessories for creative landscape photography, but can also be excellently used for impressive portraits.
Glass spheres are available in many different sizes. They are a simple tool to capture your exploration of nature in impressive photos.
Instructions: How to photograph with a glass sphere
You achieve the unique "sphere effect" by focusing on the image inside before clicking the shutter. You should keep a few important things in mind:
1. Make sure the ball is on a stable surface or held in your hand (and make sure it doesn't roll away and injure anyone!).

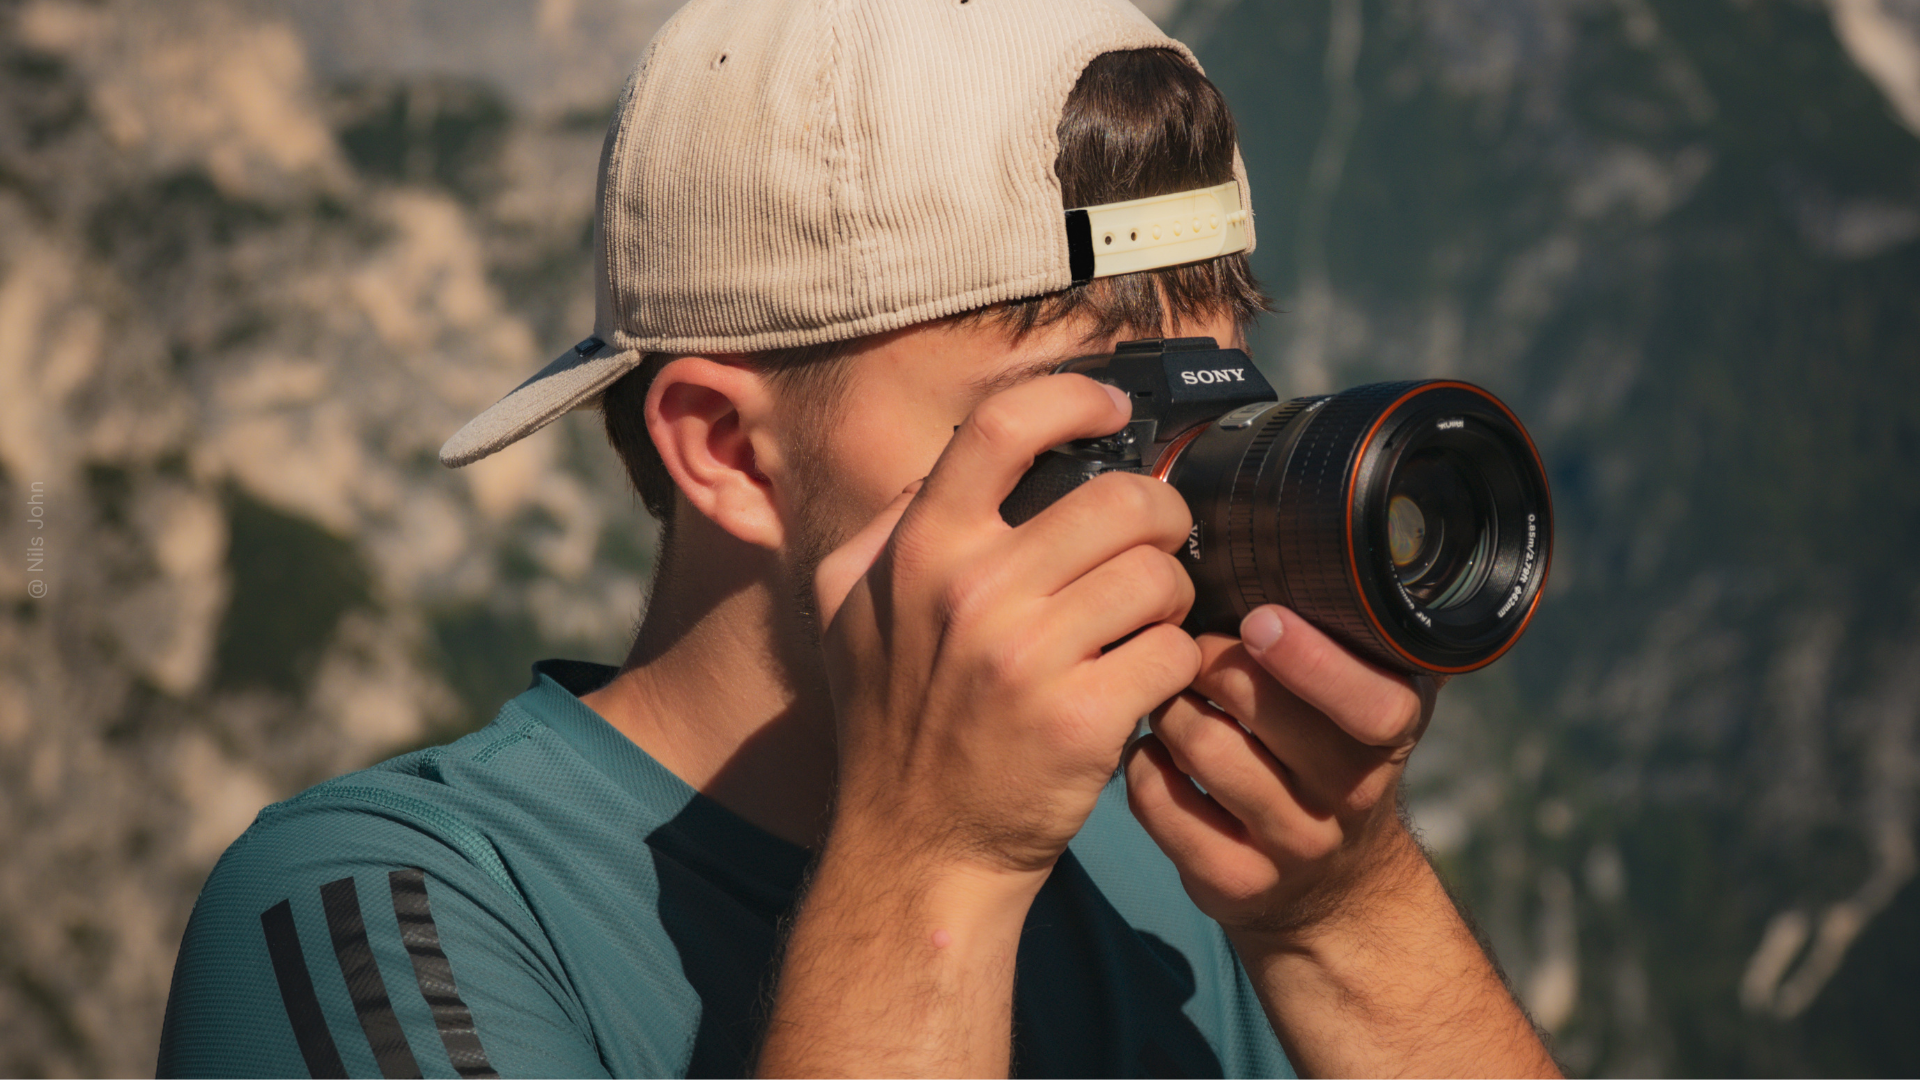
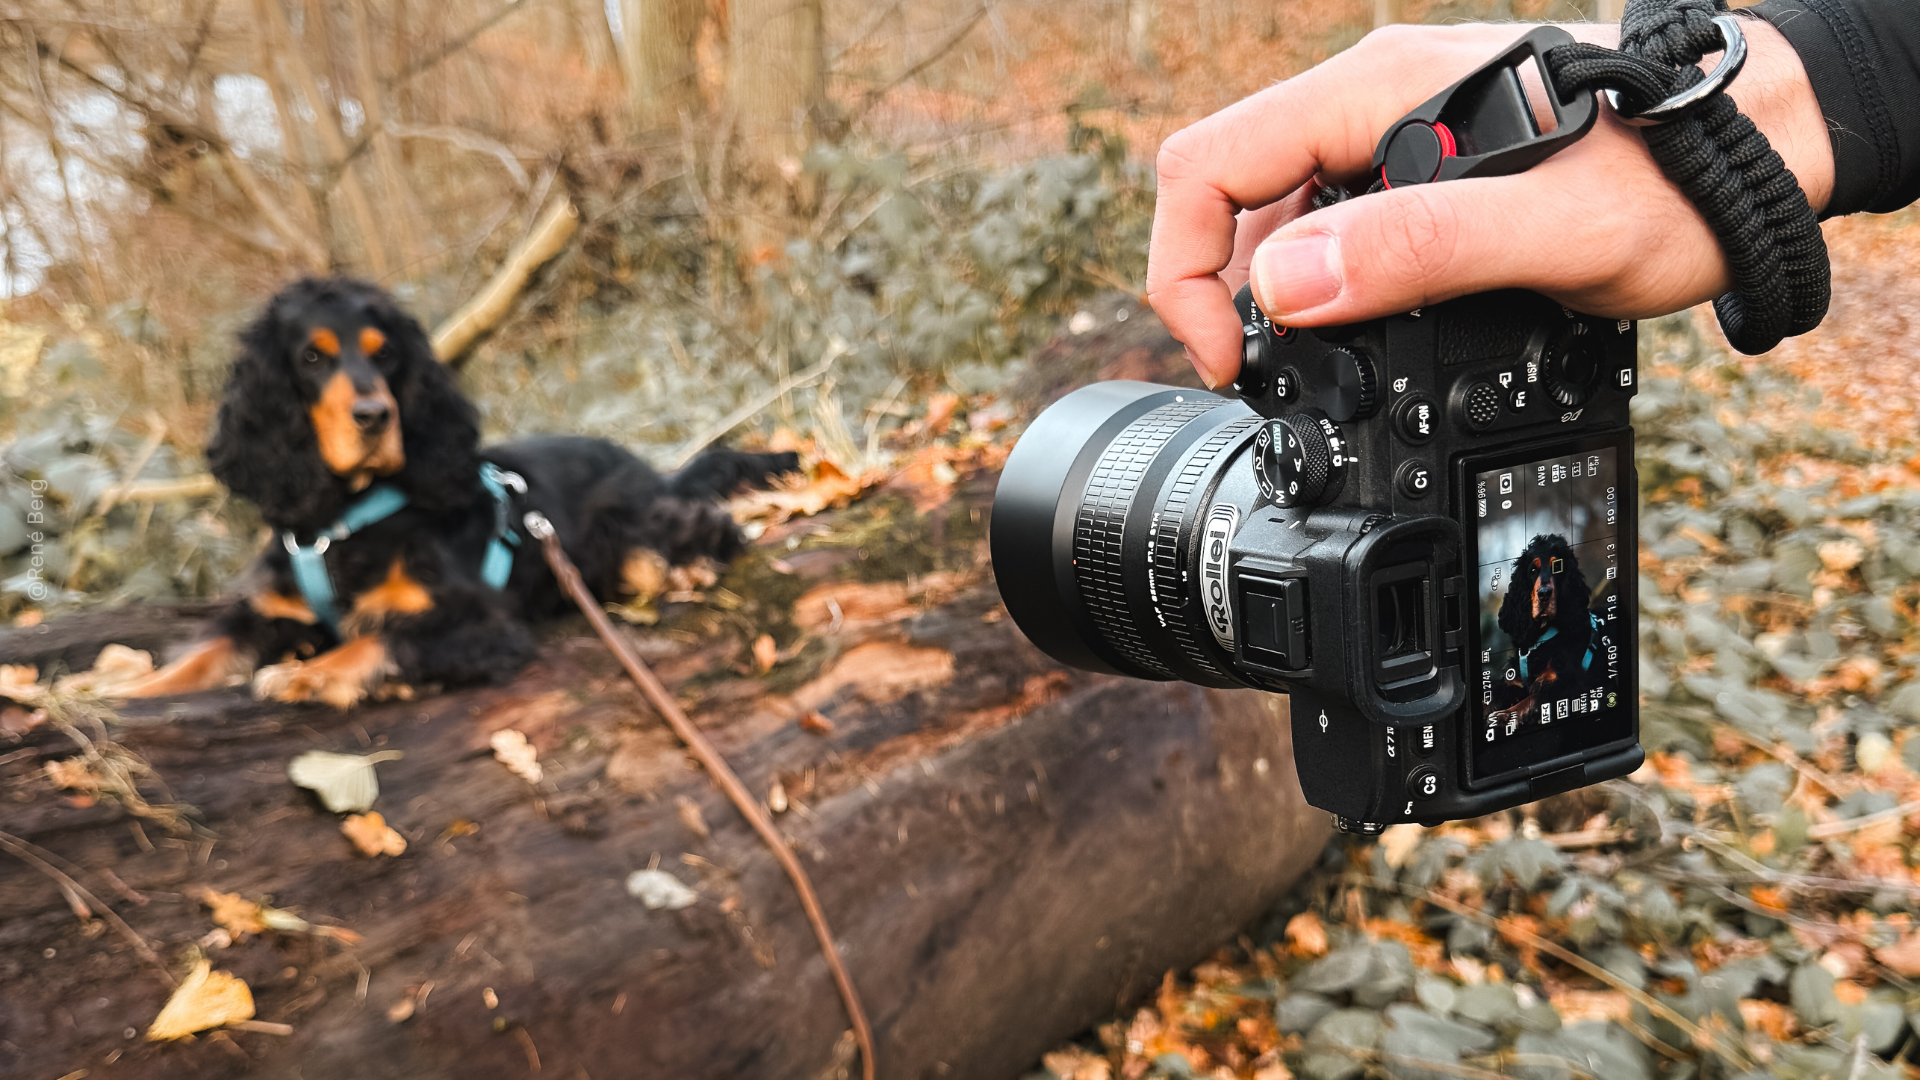
2. Set your camera to wide-angle and a large aperture (this is a small "f-number" in the settings). If you can't control your aperture, you should get very close to the glass sphere yourself. This way you ensure that the background is not distracting.

3. For night shots, your camera must either be set to a high ISO sensitivity or placed on a tripod. This ensures that a sharp image is captured.

4. Look for large subjects near you. Trying to capture a distant city or landscape will result in an image with too small a subject.
5. Experiment with symmetry and lines. Use jetties, buildings and mountains to draw attention to the glass sphere in the frame.

6. Try not to place the lensball in the center of the image every time. Experiment! Try holding the glass sphere on a side third. And remain open to other perspectives of the same subject.
7. Make sure you are not in your own picture! This is not entirely easy, but if you can see your reflection in the lensball, the viewer of the finished image will certainly be able to see it too.

8. Place the important image elements as much as possible in a round or at least square area, so that the person in the portrait is not optically affected by the extreme edge distortion. For this, the eyes or face should always be exactly in the center of the sphere.
9. If you are working with flash(es), position them as much as possible in the optical axis of the crystal ball, so that unwanted reflections on the spherical surface do not ruin the subject.
Once you have found your favorite subject, it's worth experimenting: How much of the subject can you capture in the lensball? You'll be surprised how much can be seen in such a small glass sphere (due to its spherical shape).

Motifs: How to photograph with a glass sphere
Full-frame use: Crystal balls still have a mystical and exotic touch that can be used wonderfully to photograph the glass orb as a "hero". The entire setting, including the portrait model, should then fit inside the sphere. Ideally, you position the person exactly in the center - for example, sitting or lying down.
Since the image in the crystal ball is upside down, you can then rotate the entire image 180 degrees in the presentation so that the actual motif is seen right-side up again. This measure makes the final photo even more spectacular. This is especially true if you find a particularly decorative surface for the sphere, which then appears as a kind of "crown" at the top of the image.
The sphere should be placed slightly above the person to be photographed to avoid unwanted reflections. The blur outside the sphere then results in a very nice bokeh with a relatively long focal length and appropriate aperture. The closer you position the camera to the sphere, the easier the necessary camera settings become.

Placement in the foreground: If the crystal ball is not meant to play the main role, but perhaps to function as an optical gateway to the portrait model, you can place the ball in the foreground. The glass body will then take up a maximum of 15 to 20 percent of the image area.
Focus the lens with a rather shorter focal length on the crystal ball. The background and model will then sink into a deliberately chosen blur. You can then adjust this between pronounced bokeh and slight blurring as desired. If you have done everything right when placing the ball, you will see the model and the background (rotated 180 degrees, of course) razor-sharp in the round glass. This setting requires some experimentation to achieve the desired effect.
Here, it has proven useful not to turn the image upside down again at the end, as the basic image composition can be more or less vaguely recognized.

Use as a dramaturgical accessory: Of course, you can also simply use a crystal ball "just" as a crystal ball. For example, place the ball directly in your model's hand and in their dreamy gaze, and you will instantly get a new image statement. Crystal balls are a strong synonym for contemplating the future and/or new ideas.
For those who want something a little more sophisticated, arrange the model and ball so that a second motif with its own "story" or statement can be seen in the glass body.

But it doesn't stop there:
Tips: How to take even more creative glass sphere shots
-
Try shooting upside down. Normally, the image in the lensball is upside down and the background is normal. But that doesn't have to be the case. Vertically mirroring the image can create a very exciting effect.
-
If you're shooting on a tripod, try a long exposure inside the ball – it can produce unique results!
-
Use a microfiber cloth to keep the glass sphere free of fingerprints. It's easier to clean the lensball beforehand than to edit the image on your computer later!
-
Why use only one lensball? Great effects are created when you "stack" several lensballs away from the camera. The images are then also "right" side up!
Note: Watch out for the sun!
Finally, a safety warning: NEVER leave your lensball in direct sunlight – regardless of the daytime temperature! This is because unattended, the lensball can easily start a fire, as the sun's light is focused to a single point!

That's it – a simple tool for some really cool photos! Now all you have to do is pack your glass sphere and try it out!
And don't forget:

Share:
Astrophotography Image Processing in Adobe Lightroom
Portrait Photography for Beginners: A Guide by Mario Dirks
3 comments
Ich habe für die Kugel zwei Stützvarianten, die ich noch testen muss.
1. Eine transparente Rosette für die Wanne. Passt die 90er super drauf 5 €
2. Keildichtung 40 mm 3 Stck 3 €
Beides findet man im Baumarkt im Sanitärzubehör.
Kleiner Tipp: benutze als Unterlage der Glaskugel einen Kunststoffring (z.B. leere Tesafilm-Rolle). Das Stabilisiert und schützt den Lensball.
Hallo, was ich bei all den Artikeln zu Lensballs noch nicht verstanden habe ist, wie ich “Kratzer” vermeide, wenn ich die Kugel wo auch immer hinlege.
Liegt diese Frage nicht auf der Hand, dass darauf “nie” hingeweisen wird?