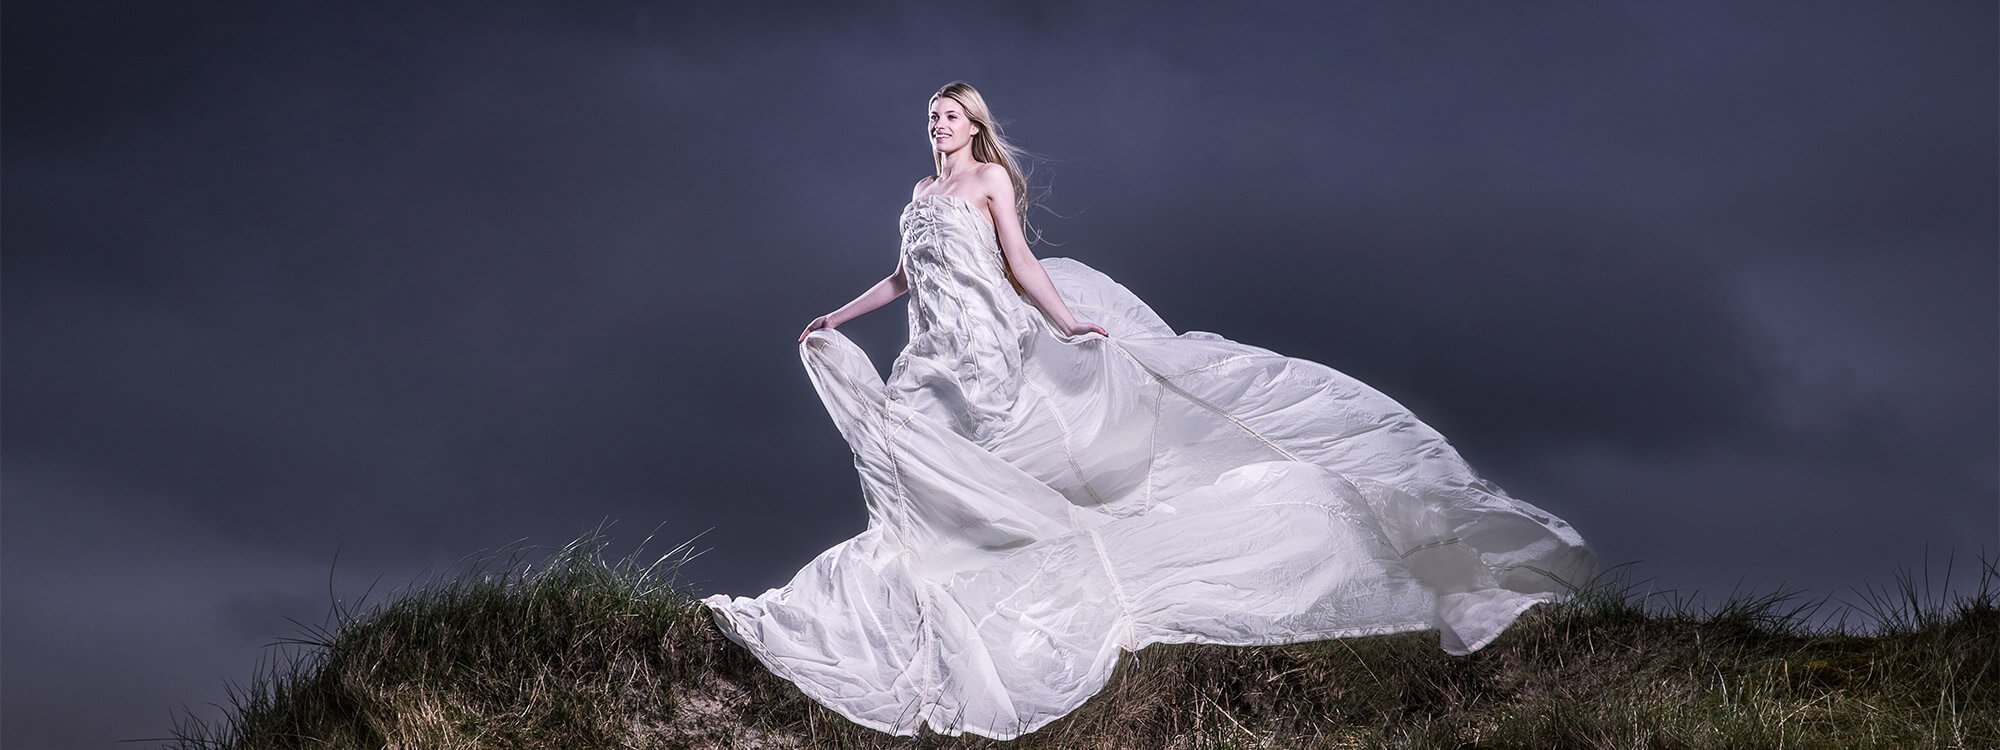
While portrait photography offers enormous artistic potential and, at best, captivates us emotionally within a fraction of a second, it is undoubtedly one of the most demanding photographic disciplines. Professional photographer Mario Dirks has shared his personal tips for shooting portraits with us.
This way, even beginners in portrait photography can avoid unnecessary pitfalls and take professional portrait photos early on.

Mario Dirks – Portrait Photographer from Norderney
Before we delve into the topic of portrait photography, here's some information about our expert Mario Dirks:
Born in Norderney, he succumbed to the charm of a simple pinhole camera at the age of six – and has managed to maintain his passion for photography to this day. In 1998, he moved to the Oldenburg State Theater, dabbled in various artistic fields, and assisted theater photographers Andreas J. Etter and Stefan Walzl.
Since 2007, he has successfully shared his knowledge and diverse experiences in portrait, landscape, architectural, flash, and studio photography, accumulated over the years and in all corners of the world, in well-attended seminars and workshops – and encourages participants to expand their photographic horizons comprehensively in metropolises such as New York or Singapore.
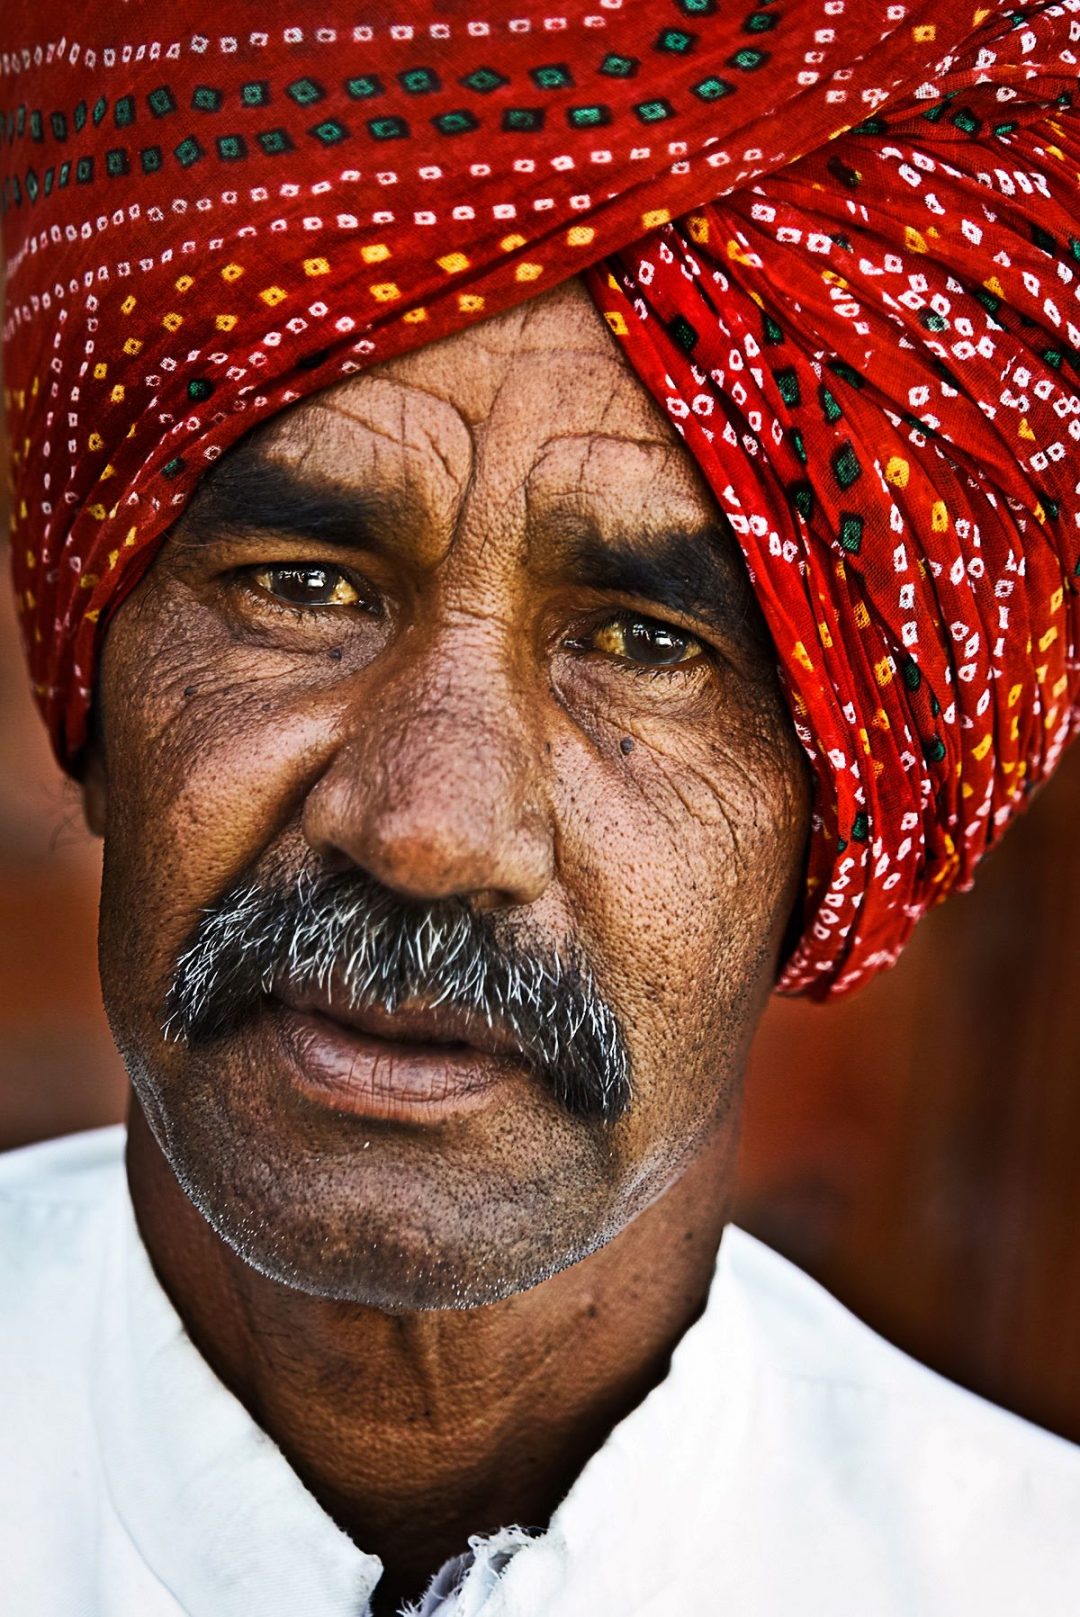
His photo safaris have taken him, among other places, for five weeks into the biting cold of Antarctica. Through photography of and with people, the professional connects with the individual exploration of a very specific and unique story. This can be a sad, but also a very cheerful background – which he can empathetically capture in his photos in the best case.
To inspire beginners and those switching to portrait photography, we asked Mario Dirks,
- what equipment he considers absolutely necessary to gain initial experience in this photographic discipline,
- which lenses are useful when, and
- which settings and configurations one should know for portraits.
His recommendations encourage even beginners, who do not have a budget of several thousand euros, to engage with the fascinating and versatile world of portrait photography.

What equipment does a beginner in portrait photography need?
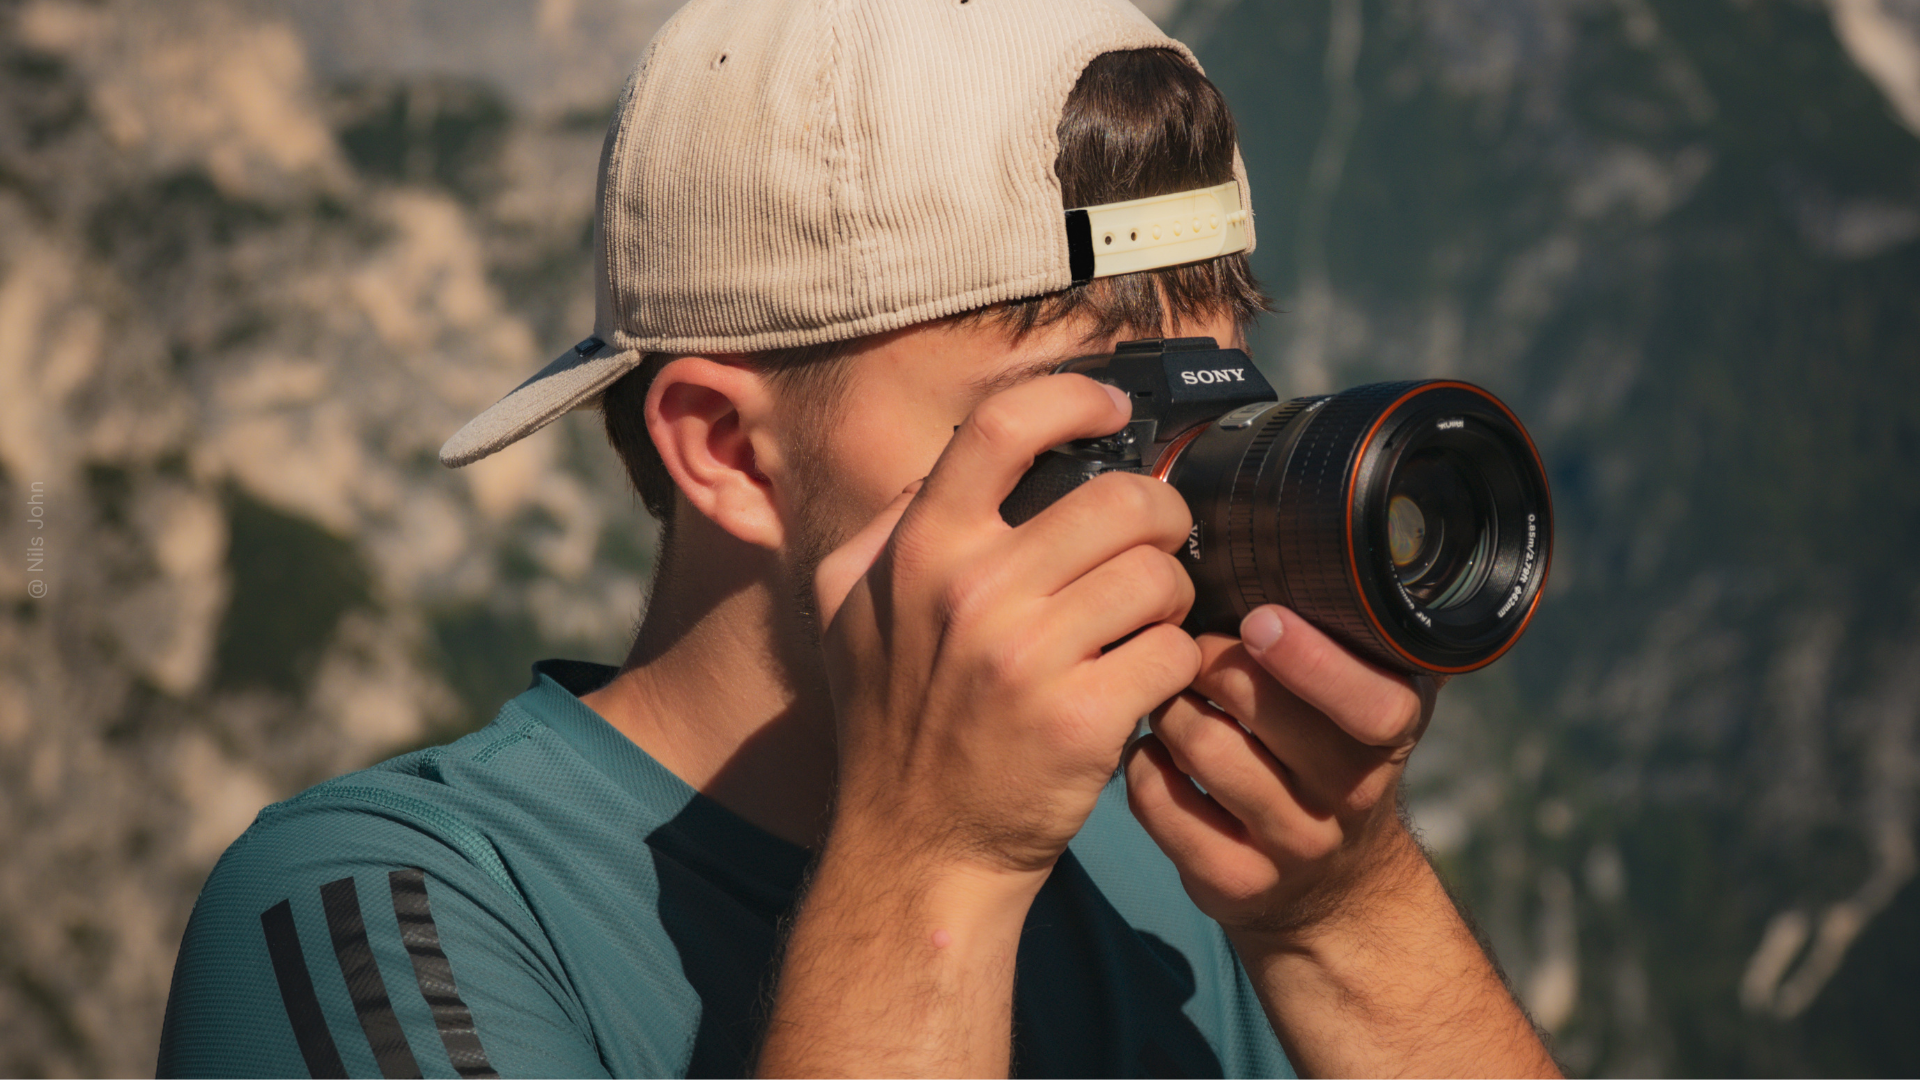
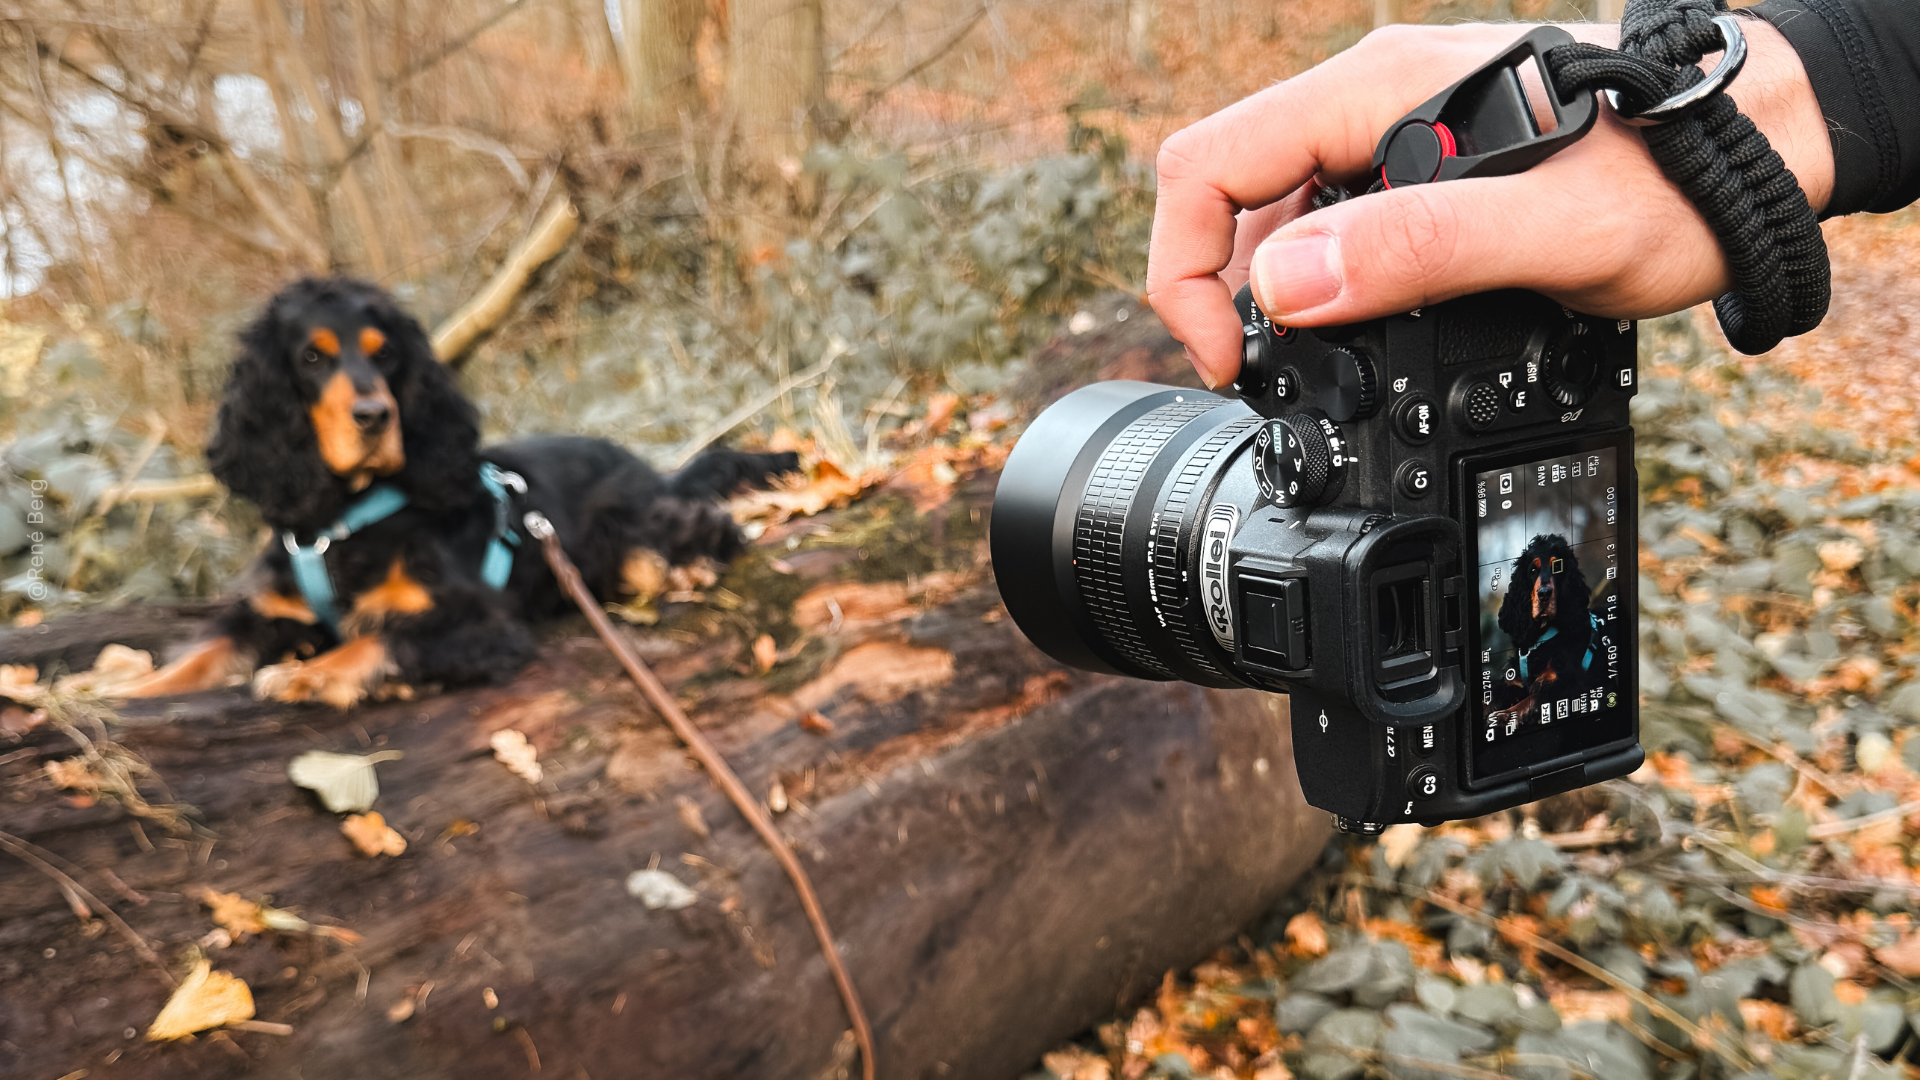
From his perspective, Mario Dirks does not categorically exclude any camera model or brand. In his opinion, nowadays, essentially all cameras that offer the possibility of setting the three most important photographic factors – aperture, shutter speed, and ISO (sensitivity) – independently and manually are suitable.
Whether it's a DSLR or mirrorless camera doesn't play a decisive role here. There are also as many answers to the question of what equipment is needed for good portrait photos as there are faces that can be photographed. One person needs light shapers and a studio flash, another also needs stylists, while for beginners, a camera, lens, and passion are actually sufficient.
In addition, the lens should be interchangeable. Whether one chooses an analog model or a modern digital camera depends on one's own preferences and demands. As a beginner, with a DSLR or DSLM, you benefit from the fact that photos that didn't turn out well don't incur development costs, and the number of practice photos is only limited by the capacity of the storage medium. While you generally can't go wrong with camera bodies that meet the above criteria, in Mario Dirks' experience, you should avoid kits, which usually consist of a body and a zoom lens with a wide focal length range, and instead combine a solid body with the fastest possible prime lens.
As a portrait photographer, the zoom spectrum is less important. You influence the image composition by changing your own position or that of the subject.
The zoom functionality in inexpensive kit lenses is usually achieved at the cost of significantly lower light sensitivity. However, 50mm or 85mm prime lenses with a maximum aperture of f1.8 are available for a "street price" ranging from 100 to 150 euros. Mario Dirks prefers to work with an 85mm focal length, as this allows him to give the model a certain comfortable distance, so to speak. Generally, the focal length should be over 70mm to photograph faces with as little distortion as possible. Of course, we are talking about beginners here. You can also work with focal lengths like 24mm and 35mm (f/1.4 prime lens) or 50mm (f/1.8 prime lens), or even with the entire spectrum between 16mm and 200mm.
However, this must be done with much more care to achieve the desired effect. Undoubtedly, good portraits can also be taken with super wide-angle lenses, because the wider the angle of a portrait, the closer the viewer gets to the face. Distortion thus becomes a stylistic device. Of course, you can also purchase zoom lenses that capture images quite brightly across the entire focal length range – but you'll have to dig a bit deeper into your pockets for those.

Overview of equipment for product photography
You will need the following for the perfect photo:
- Model
- Camera
- Lens
- Collapsible reflector
- Studio flash
- Light shapers (Beauty Dish, Octabox, Striplight & Co.)
Fast prime lenses are particularly well suited for portrait photography
Mario Dirks often uses the largest possible aperture of f1.2 on his favorite 85mm prime lens to create a particularly beautiful and atmospheric bokeh in the background of the model. This technical photographic term refers to the blurred background, which appears very close behind the actual subject due to the large aperture – here, professionals deliberately play with contrasts, lights, and gradients to place their subject in the most exciting contrast or harmonious frame possible.
However, this light intensity also has a downside: the more you open the aperture, the smaller the horizontal area that is truly sharp becomes.
In extreme cases, this "range" can be only a few centimeters or even millimeters. Professionals then work with continuous shooting and bracketing to avoid unpleasant – blurry – surprises when reviewing the results.

Lighting – the most beautiful portraits are not taken in direct sunlight
In addition to his professional camera and favorite lens, Mario Dirks usually carries two pieces of equipment that prove to be extremely valuable for appropriate lighting, especially during sunny outdoor photo shoots: a display magnifier (Hoodloupe) and a shade.

The experienced photo professional places the display magnifier on the camera's rear display to better assess sharpness and exposure without side light and with comfortable magnification. The shade is then used when no shadow or partial shade is available nearby and the model's face would otherwise be photographed frontally and without recognizable contour. In addition, harsh sunlight often causes models to squint their eyes. Mario Dirks therefore avoids these difficulties from the outset and looks for locations that offer different shadows or "light doses."
An overcast sky or diffused daylight falling on the model through a north-facing window creates a soft, sensitive, and often very sensual atmosphere.
In the studio, however, he likes to work with direct and harsh flash light from the front to bring out the contours of an interesting male face. Generally, it's a matter of style whether you take photos outdoors or in a photo studio.
It is more important to understand exactly what the differences are. Only then can one even learn to decide what one prefers or what suits the respective person. And you don't necessarily need your own artificial light sources. Yes, you need light for portraits. Nevertheless, it is highly recommended to learn how to use flash, light shapers, and also sunlight. Only then can you truly understand when you can do without something and when not.
If a studio flash is too expensive for beginners, you should at least opt for a collapsible reflector to, for example, compensate for shadows by reflecting sunlight or significantly improve the expressiveness and impact of a face. The choice of reflector should also be considered here:
- Gold reflector – warmer light, softer portraits or facial features
- Silver reflector – very harsh light reflected 100 percent without tinting
- White reflector – very neutral light, but not as harsh as with the silver reflector
By the way: The Rollei 5-in-1 Collapsible Reflector Set consists of all available reflectors and provides a great basic framework for aspiring portrait photographers.

Basic lighting rules for portraits
To briefly and concisely illuminate this topic is almost impossible. Therefore, for beginners, we want to limit ourselves to the most important lighting rule and some lighting types for portrait photography.
Rule number 1: Beginners in portrait photography should definitely avoid the midday sun and its very, very harsh light. If the photographer is not skilled in handling shades, light shapers and the like, the midday sun will always have a negative effect on the lighting of the face. So, in the beginning, it's better to use the morning or late afternoon sun for practice.
It also applies that the sun does not always have to be behind the photographer. With a little practice and creativity, beautiful portrait shoots with backlighting can be achieved from other angles and perspectives. However, the patience and practiced spot metering with natural light required for this are more for advanced users.
Indoor or Outdoor Portraits? All a Question of Desired Image Style and Equipment
Regarding the appropriate location, Mario Dirks has no real preferences; he enjoys working outdoors as much as in the studio – it depends solely on the goal, statement, or desired image style, according to him.
The professional particularly enjoys photographing with available daylight, as he doesn't have to worry about lighting technology. Nevertheless, Dirks skillfully uses flash units both indoors and outdoors to realize specific image ideas or moods, or to set certain contrasts/accents for which sunlight seems too even.
His preferred outdoor look is the so-called "American Night Look," also known as "Day for Night." Here, with rather subdued daylight, the flash is used from the front to further darken the background and make it appear like a night scene. To be able to work independently of weather conditions and power grids with these specifications, Rollei developed the mobile studio flashes HS Freeze 4s and HS Freeze 6s.

Basic Settings for Lighting in Portrait Photography
- Split Light: here, only one half of the face is directly lit, while the other is shadowed. The light source must be positioned at approximately a 90-degree angle to the model. Split Light is very dramatic and can be developed into clamp lighting with some practice. This is achieved by extending the Split Light symmetrically.
- Rembrandt Light: a classic. The light source is positioned above the model's head, but heavily offset. This creates a triangle of light on the model's cheek facing the camera.
- Butterfly Light: the name is based on the butterfly-shaped shadow created under the model's nose with this lighting. This lighting was very popular for Hollywood portraits in the 1930s, where it was also called Paramount Light. The setting consists of a light source placed centrally above the model's head at an angle of 25 to 70 degrees.
- Loop Light: works in principle like Butterfly Light, except that the light source is not perfectly centered but shifted to the left or right.
- Broad Light: similar to Rembrandt Light. However, here the model turns their face away from the light source.
Guide & Camera Settings for Portrait Photography
- The 2/3 Rule – in portrait composition, many photographers rely on the 2/3 rule – the golden ratio. Two lines run horizontally across the image frame, each 1/3 of the total height of the image frame from the top or bottom edge. Together with two equally long vertical lines, this divides the image into 9 identical parts. Prominent objects or subjects, such as the model in portrait photography, are then positioned in the right or left third of the image. Another example: in a sunset, the sun would not be placed in the center of the photo, but on the upper or lower horizontal line of the image.
- Focal length from 70mm: When photographing a portrait with a wide-angle lens, noses can appear very large, which is sometimes unflattering. In addition, with longer focal lengths, you can also have a bit more distance from the model, which is quite good, especially if you don't know the model. Short focal lengths under 50mm distort proportions, but can also be used as a stylistic device.
- The eye closest to the camera must be sharp: A slightly tilted face can cause not both eyes to be completely in focus by the camera. We can reassure you here: as long as the eye closest to the camera is sharply photographed, the portrait is coherent.
- Shoot with a wide aperture: Easily allows for background blur (the popular bokeh effect) and draws attention to the subject. It helps separate the model from the background.
- Exposure metering – the higher the aperture value, the longer the exposure time must be. As a beginner, you can use the AV mode, which automatically calculates the shutter speed. As a rule, however, shorter shutter speeds should be used, as blurring can occur in portrait photography even through breathing or blinking.
What's the best way for beginners to start with portrait photography?
Every beginning doesn't have to be difficult – even for a portrait photographer. We asked Mario Dirks what approach he recommends for beginners who want to achieve presentable results as quickly as possible: Should one first delve deeply into the dry theory, work through textbooks and YouTube videos – or simply grab a camera, lens, and model and happily experiment, following the motto "learning by doing"?
The professional can't be pinned down. In his experience, however, it doesn't hurt to have already familiarized oneself a little with the basic contexts and functionalities of portrait photography and to know the possibilities of how aperture and shutter speed can creatively and excitingly interact.
Ideally, one has also heard of the rule of thirds or the golden ratio. But before delving too much into theory, beginners or those transitioning into photography should actually take the plunge into practice and gain low-threshold experience. Even if the initial yield tends to be more like snapshots, these steps represent important milestones on the way to conscious and empathetic portrait photography.
In this photographic discipline, particularly, the saying "practice makes perfect" applies – and beyond established learning methods, it also opens the door to long-term success as a professional portrait photographer for talented and experimental autodidacts.
Inspiration from truly moving portrait photos
Mario Dirks also recommends to his workshop participants that they draw inspiration from good and emotionally moving examples – and specifically ask themselves which aspect of the respective picture is particularly touching or fascinating.
Is it the subject, the person in front of the lens?
Or is it mainly the location, pose, outfit, surroundings, or light that captivates the viewer?
This carefree approach helped the photo professional immensely, especially at the beginning of his career, and opened his eyes to the perspectives of other people, as he says.
Never lose respect for the person!
Mario Dirks also reveals that he actually has a problem with the term "model" – as this designation degrades the person in front of the camera to a means to an end or a photographic object. To convey genuine and truly moving emotions and – if desired – also a message, the professional always ensures that the person being portrayed feels completely comfortable and taken seriously in the respective environment. Then the person can truly let go and unfold their individuality. Here, the photographer, workshop leader, and author relies on a lot of empathy and patience.
However, this approach also requires actively or passively influencing the progress of the shoot, depending on the character. Mario Dirks gives very extroverted and proactive people the necessary freedom to express their creativity, but also supports quiet, sensitive personalities with careful and well-dosed directorial instructions.
Ideally, beginners should gain their first experiences with people who have often acted in front of the camera and do not rely on specific instructions. This simplifies the process during shoots.

Finally, a real pro tip
At the end of the conversation, we asked Mario Dirks to perhaps share one or two of his best tips that had really helped him out of a jam. Here, unexpectedly, he didn't reveal a clever technical trick or a photographic approach – instead, he encouraged beginners to relieve a little tension with a tiny white lie.
If a beginner takes their first steps as a portrait photographer with someone inexperienced, uncertainty and inexperience can cause high expectations, fears, and reservations to negatively influence the process. This can lead to tense, strained pictures.
As a way out, Mario Dirks therefore recommends simply telling the person being portrayed that you have just bought a brand new lens and would like to take a few test shots before the actual main shoot. This reduces high expectations and will most likely already result in very usable natural portraits at the end of the test shoot.
Then, usually, the tension would have completely vanished, and one could experiment together in a relaxed atmosphere.

Conclusion on portrait photography for beginners
Mario Dirks not only takes great photos – but also gives beginners and novices a lot of courage to just get started. While one should keep a few peculiarities of portrait photography in mind from the beginning – nevertheless, an uninhibited and not solely technology-focused approach will sooner or later lead to better photos.
Those who want to learn more about Mario Dirks' photography can find numerous inspirations and suggestions on his website.

Share:
Lensball Photography: The Complete Guide to Photos with a Lensball
Long Exposure Photography: The Complete Guide to Long Exposure Times