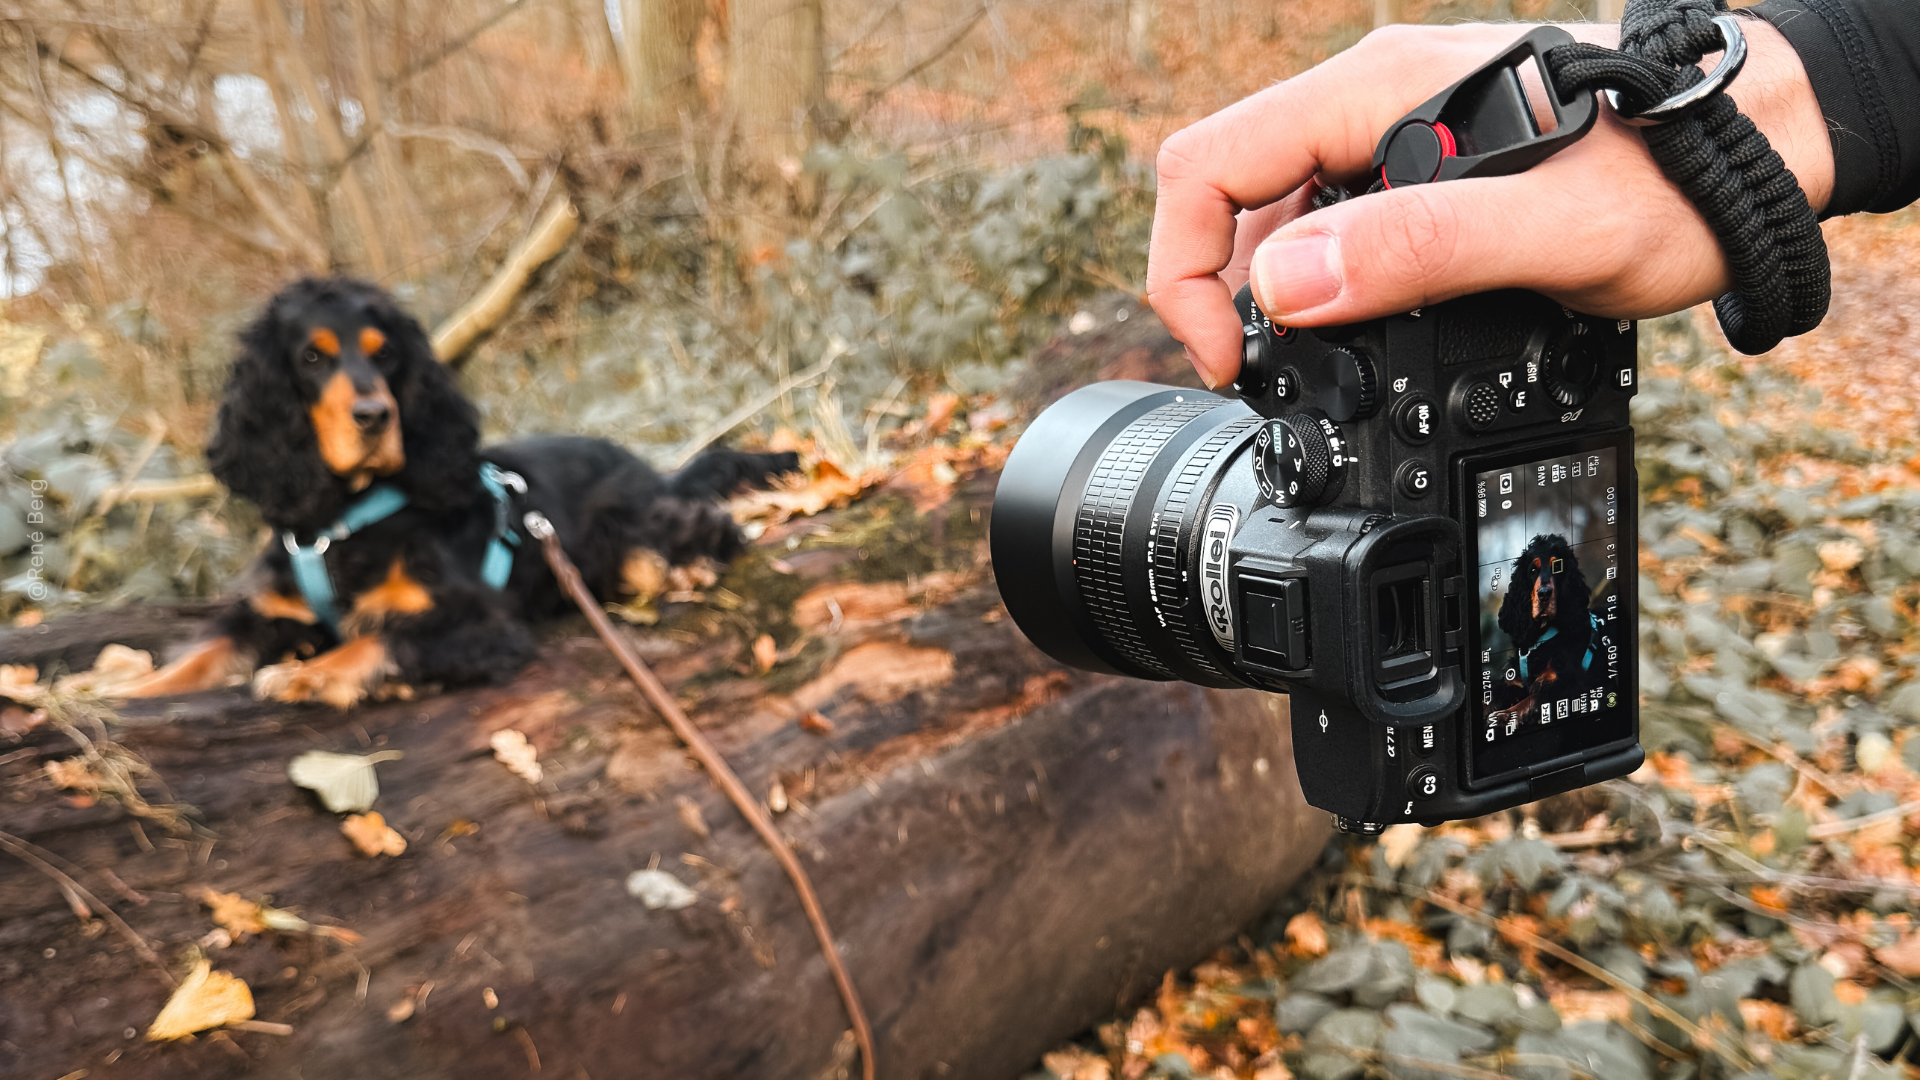
Light painting has become a popular type of photography in recent years. The reason: photos with impressive color accents can be created relatively easily. Color artist Olaf Schieche regularly gives workshops on this topic and uses Lumen Sticks from Rollei, among other things. We accompanied him during a shoot.
1. What matters in light painting?
2. What would you recommend to a beginner?
3. What are the most common mistakes?
4. Tips you would give your beginner self from back then?
5. Which camera settings would you recommend?
6. Which photo situations are the most exciting?
7. How did you get into light painting yourself?
8. Take a lot or a little equipment?
Bonus: Instructions for light painting with steel wool

1. What matters in light painting?
It's all about the right camera settings, the ambient light, and creativity. Without creativity, you simply can't take beautiful pictures. It actually matters less on the equipment. The art is to create something cool with what you have. It's mostly about creativity, location, and camera settings. You should know the settings and how to work with light.2. WHAT WOULD YOU RECOMMEND TO A BEGINNER?
Well, a beginner should first and foremost know what equipment to have. The camera must be able to do Bulb mode. You need a decent tripod that can withstand the wind, no mini-things that fall over just by looking at them, a remote trigger for Bulb mode, and also two or three flashlights. Small flashlights to large flashlights. Everything else you can actually build yourself. That, in my opinion, is also the art of light painting. Building things yourself with the funniest materials. For example, heating insulation, duct tape, drinking cups, or even bottles. It's not only cooler to build these things yourself, but also simply cheaper. But that always depends on the respective tool. Sometimes you also have to invest money.3. WHAT ARE THE MOST COMMON MISTAKES?
Many people don't understand what the aperture/camera settings as a whole actually do. Very often, incorrect apertures are set. Or that you can't work with autofocus in the dark. That means you can't focus because too little light falls on the sensor. Many photographers are also too hectic and don't think in advance about everything they want to include in the picture. And you also have to learn to move properly with the light. Many don't dare to do that at first. Of course, it looks strange when you see someone dancing in the park with a glowing garbage bag. But you just have to let loose and learn to draw beautiful traces with it and block out everything else.
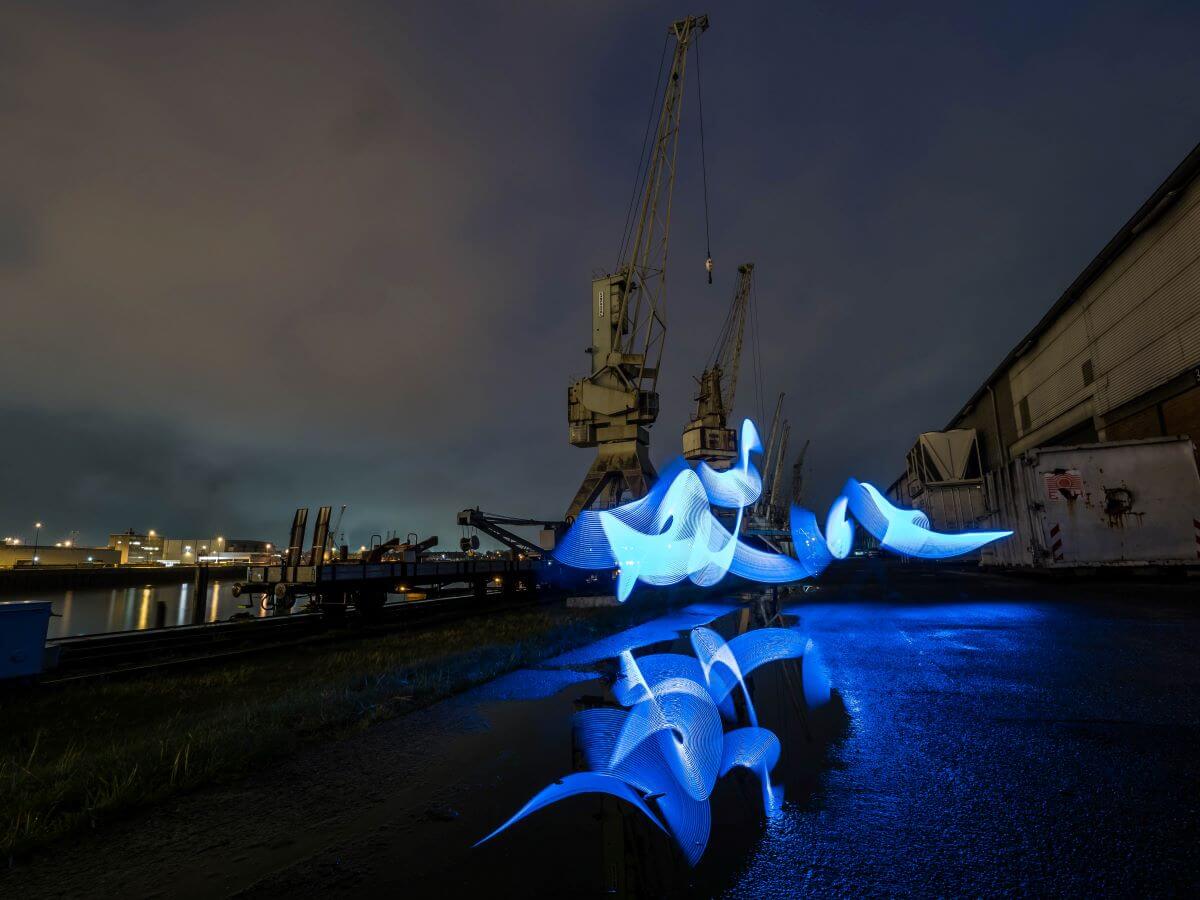
| Camera | Exposure | ISO |
|---|---|---|
| Olympus OM-D E-M1 Mark II | 29 sec. at aperture 9 | 100 |
4. TIPS YOU WOULD GIVE YOUR BEGINNER SELF FROM BACK THEN?
Less is more. I always went overboard and used all sorts of colors. You can also just use blue tones, or warm tones. Orange, yellow, and red. I often wanted to achieve too much in one night. Light painting takes time, so you should be satisfied if you manage three pictures in one night.5. WHICH CAMERA SETTINGS WOULD YOU RECOMMEND?
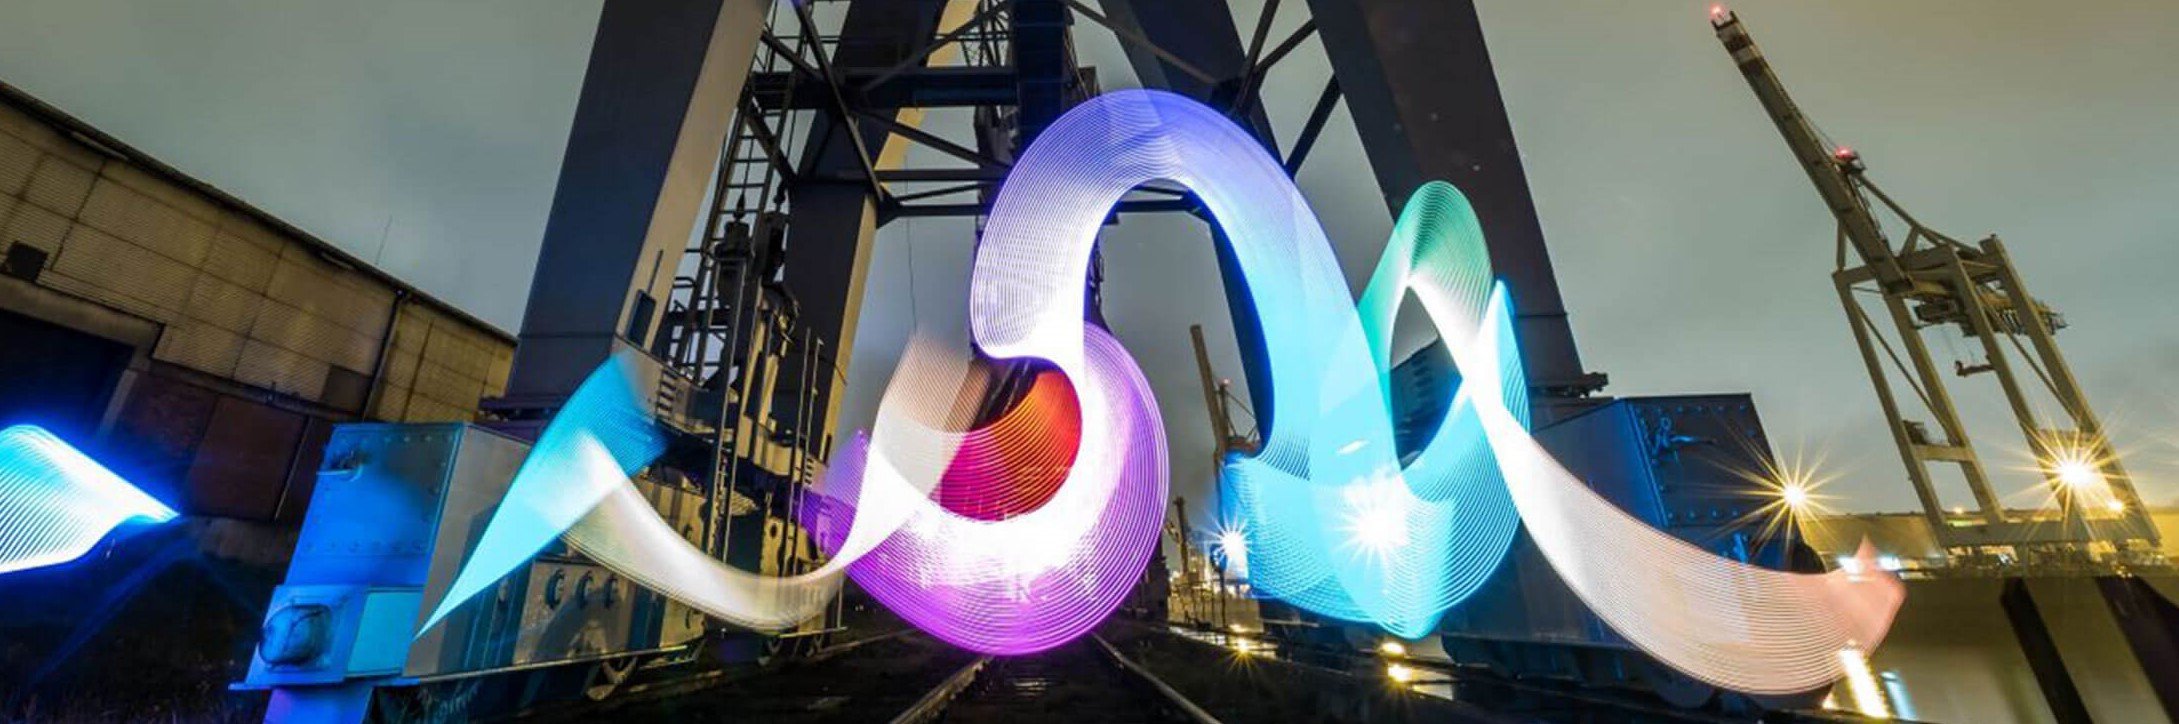
Camera settings depend on where you are. If you have a certain basic illumination in the city, meaning the sky is lit up by the city, then ISO 100, aperture usually at 8, and in Bulb mode. If you shoot in RAW, you would still do a white balance. That's the beauty of light painting. You don't need all that fuss. When I'm outdoors, I use different settings because I want to get as much light as possible.6. WHICH PHOTO SITUATIONS ARE THE MOST EXCITING?
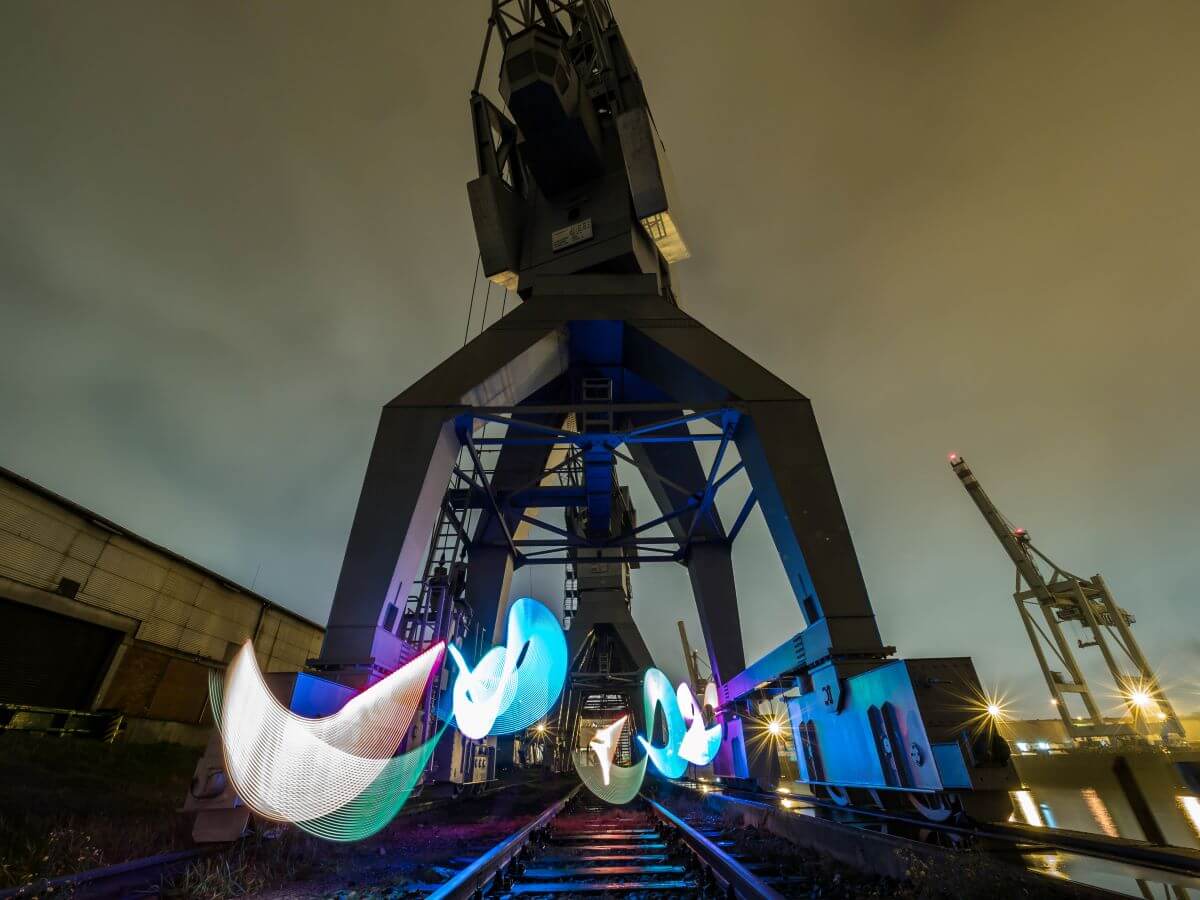
Personally, I find abandoned places the coolest. You can combine old and new very well there and let off steam. Or generally places you wouldn't normally get to. Last year, for example, I hiked up to Trolltunga, a rock formation in Norway. I took two pictures, slept up there, and then hiked back down. You also experience a lot in general with light painting. Everything from customs to police to ghost hunters has been there. But I only had contact with ghost hunters once, and that was in the Klecker Wald south of Harburg. There's a megalithic tomb there, where it's said a witch lives, and where I did light painting. I was standing on a rock with an illuminated motorcycle helmet and a lightsaber. Suddenly, a car stops and four people get out, asking me if I'm also looking for paranormal phenomena. They probably thought they had just discovered something paranormal, but it was just me.
| Camera | Exposure | ISO |
|---|---|---|
| Olympus OM-D E-M1 Mark II | 41 sec. at aperture 10 | 100 |
7. HOW DID YOU GET INTO LIGHT PAINTING YOURSELF?
In 2011, I was on vacation on Rügen and had previously seen light paintings in the newspaper. They were stick figures and I thought I'd like to try that. So I walked down to the boat dock in the evening, drank some wine, set up the camera, and painted figures, hearts, and faces with a bike light, and I was fascinated by it. Then I thought I'd continue and develop it.8. RATHER A LOT OR RATHER A LITTLE EQUIPMENT TO TAKE WITH YOU?
Rule number 1 in light painting: Always take more than you need. You might have a spontaneous idea, that's why I always have my most important cases with me, my flashlight case and the tool case, which contains the accessories. And then you can get started.
BONUS: HOW DOES LIGHT PAINTING WITH STEEL WOOL WORK?
As a bonus, here are instructions for light painting with steel wool.
It is probably the fastest and easiest method for this type of photography.
EQUIPMENT FOR LIGHT PAINTING WITH STEEL WOOL:
- Whisk or metal tea infuser
- Metal chain
- Dark clothing
- Lighter or D-cell battery
- Steel wool (the finer, the better) Fineness grades range from single 0 (very coarse) to 0000 (very fine)
- The finer the wool, the more sparks fly
- Suitable location (preferably nothing flammable nearby and no glass panes, because the sparks can burn through glass
- Puddles can be a good addition due to reflections
- In strong winds, it is better not to work with steel wool, because the sparks can glow after
PREPARATION:
- Attach chain fireproof to whisk or tea infuser (because it gets up to 1,000 °C hot)
- Loosen steel wool so that it is not so tightly packed (oxygen)
- Then pack into tea strainer or whisk
- Ignite steel wool and slowly start swinging
LIGHT PAINTING:
- Set camera to Bulb mode
- Use aperture 6-11
- Focus manually, because autofocus doesn't work in the dark
- Check the result, readjust if necessary
Share:
Create a Motion Timelapse in 6 Steps
Lost Place Shooting with Sebastian Nagel and Lumen LED Continuous Light