If you're looking to purchase a studio flash, there are several criteria to consider and terms you should be familiar with:
- What does High Speed Sync mean?
- How do you freeze fast movements?
- What is the delay function?
We answer these questions and more in the following article:
1. High Speed Sync2. Freeze Mode
3. Delay Function
4. First or Second Curtain Sync
5. Easy Cap
Feature 1: High Speed Sync for even more creativity
A popular feature of professional flash units is "High Speed Sync" (HSS for short). Although many people already know it's a good feature, many don't know when, why, and how to use HSS correctly. We want to change that.

When the maximum sync speed isn't fast enough… For example, take Freeze Mode, which, when the flash is on, emits a light pulse for the shortest possible duration.

With a hot shoe flash, the flash duration ranges from 1/250s to 1/6,000s – from full power 1/1 to the lowest power 1/32 [t-0.5]. Commercial studio flashes have flash durations between 1/600s and 1/5,000s – from full power 1/1 to the lowest power 1/32 [t-0.5].
So what can we do? This is where the Rollei HS Freeze studio flashes with HSS come into play! They have a flash duration from 1/800s to 1/19,000s – from full power 1/1 to the lowest power 1/32 [t-0.5]. The HSS mode is a closed-loop system where the camera, its shutter, and the flash unit must communicate in perfect timing. By sending a signal to the flash while the shutter curtains are moving, it can "pulse" with perfect timing to match the position of the open part of the sensor at speeds up to 1/8,000s.
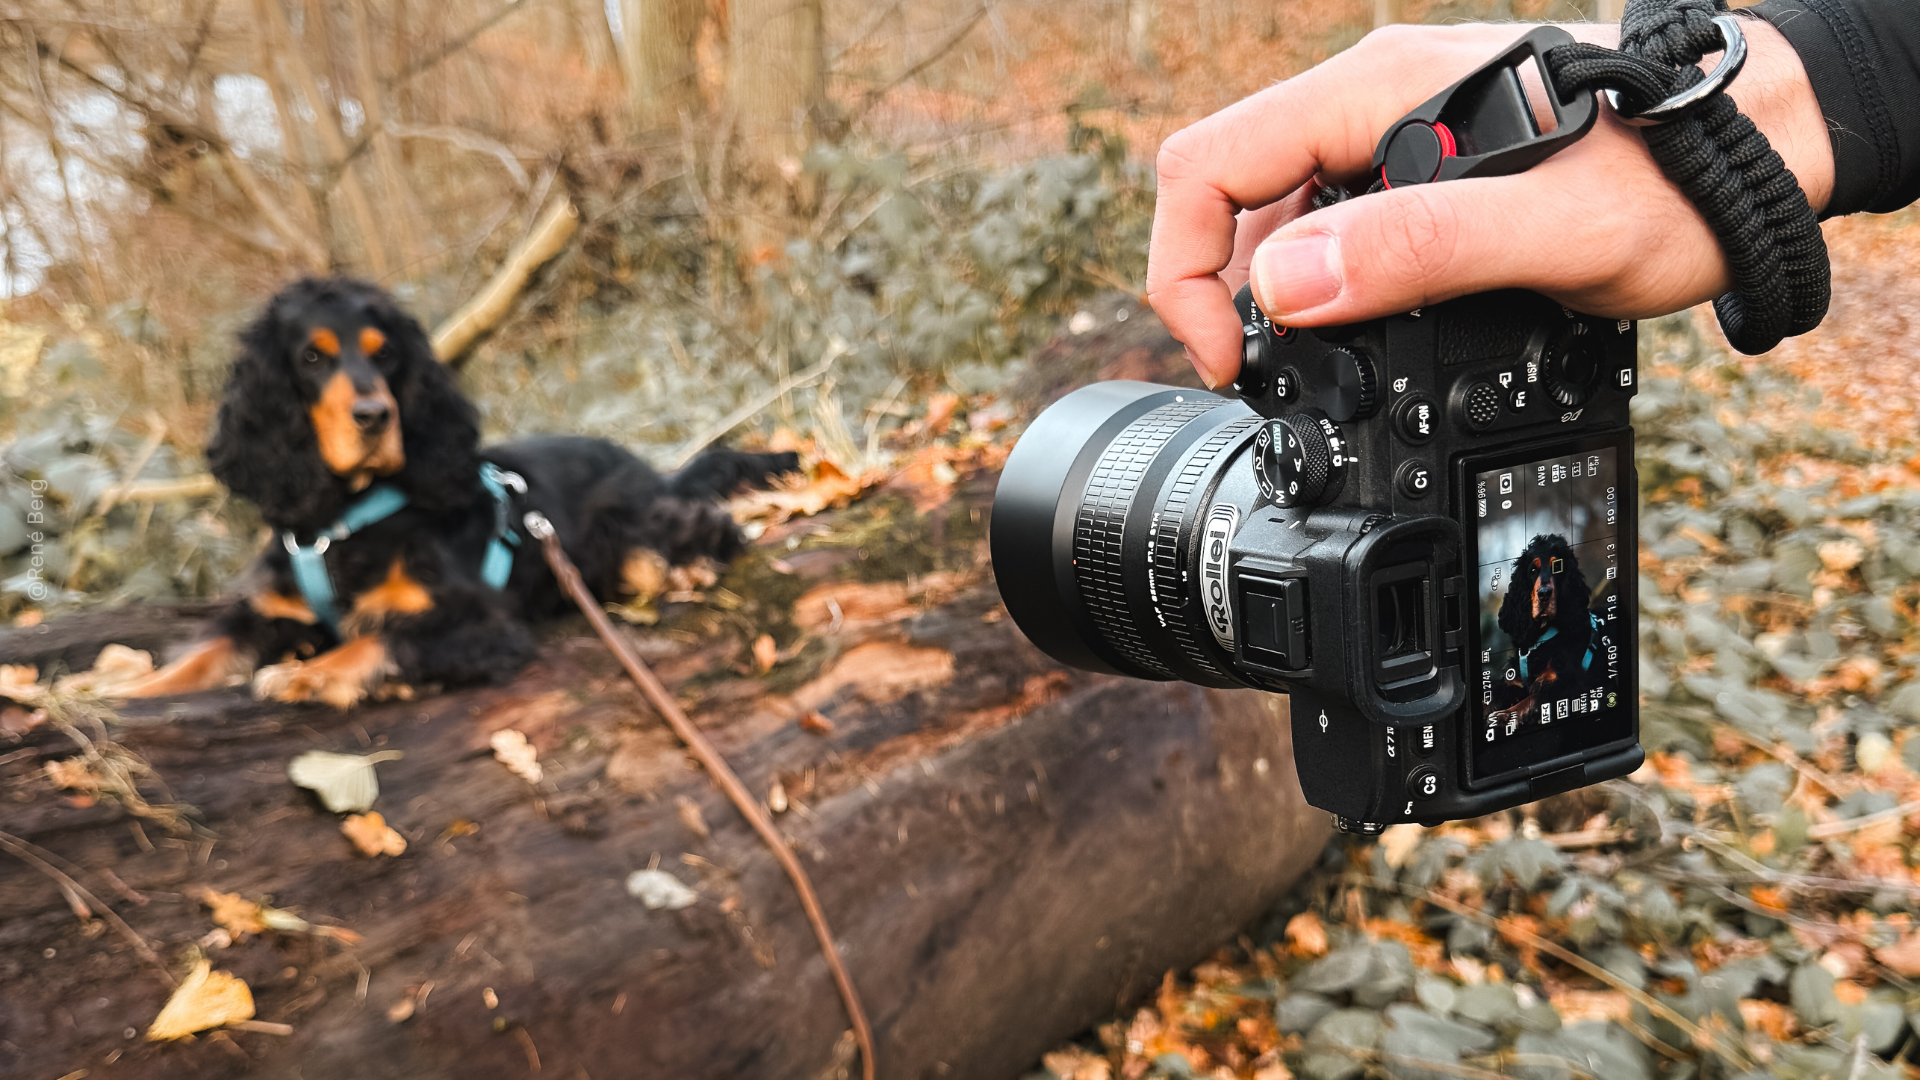
Feature 2: Freeze Mode to freeze fast movements
Perfect timing is the critical factor in this type of image – just half a second too late and the moment is gone. Too early and the image won't look coherent.

Freezing fast movements?
Capturing objects moving particularly fast used to be an impossible task.
But flash photography has now reached an extreme level, and photographing fast objects has become a kind of art form.
A style of photography that is not only popular but also a lot of fun.
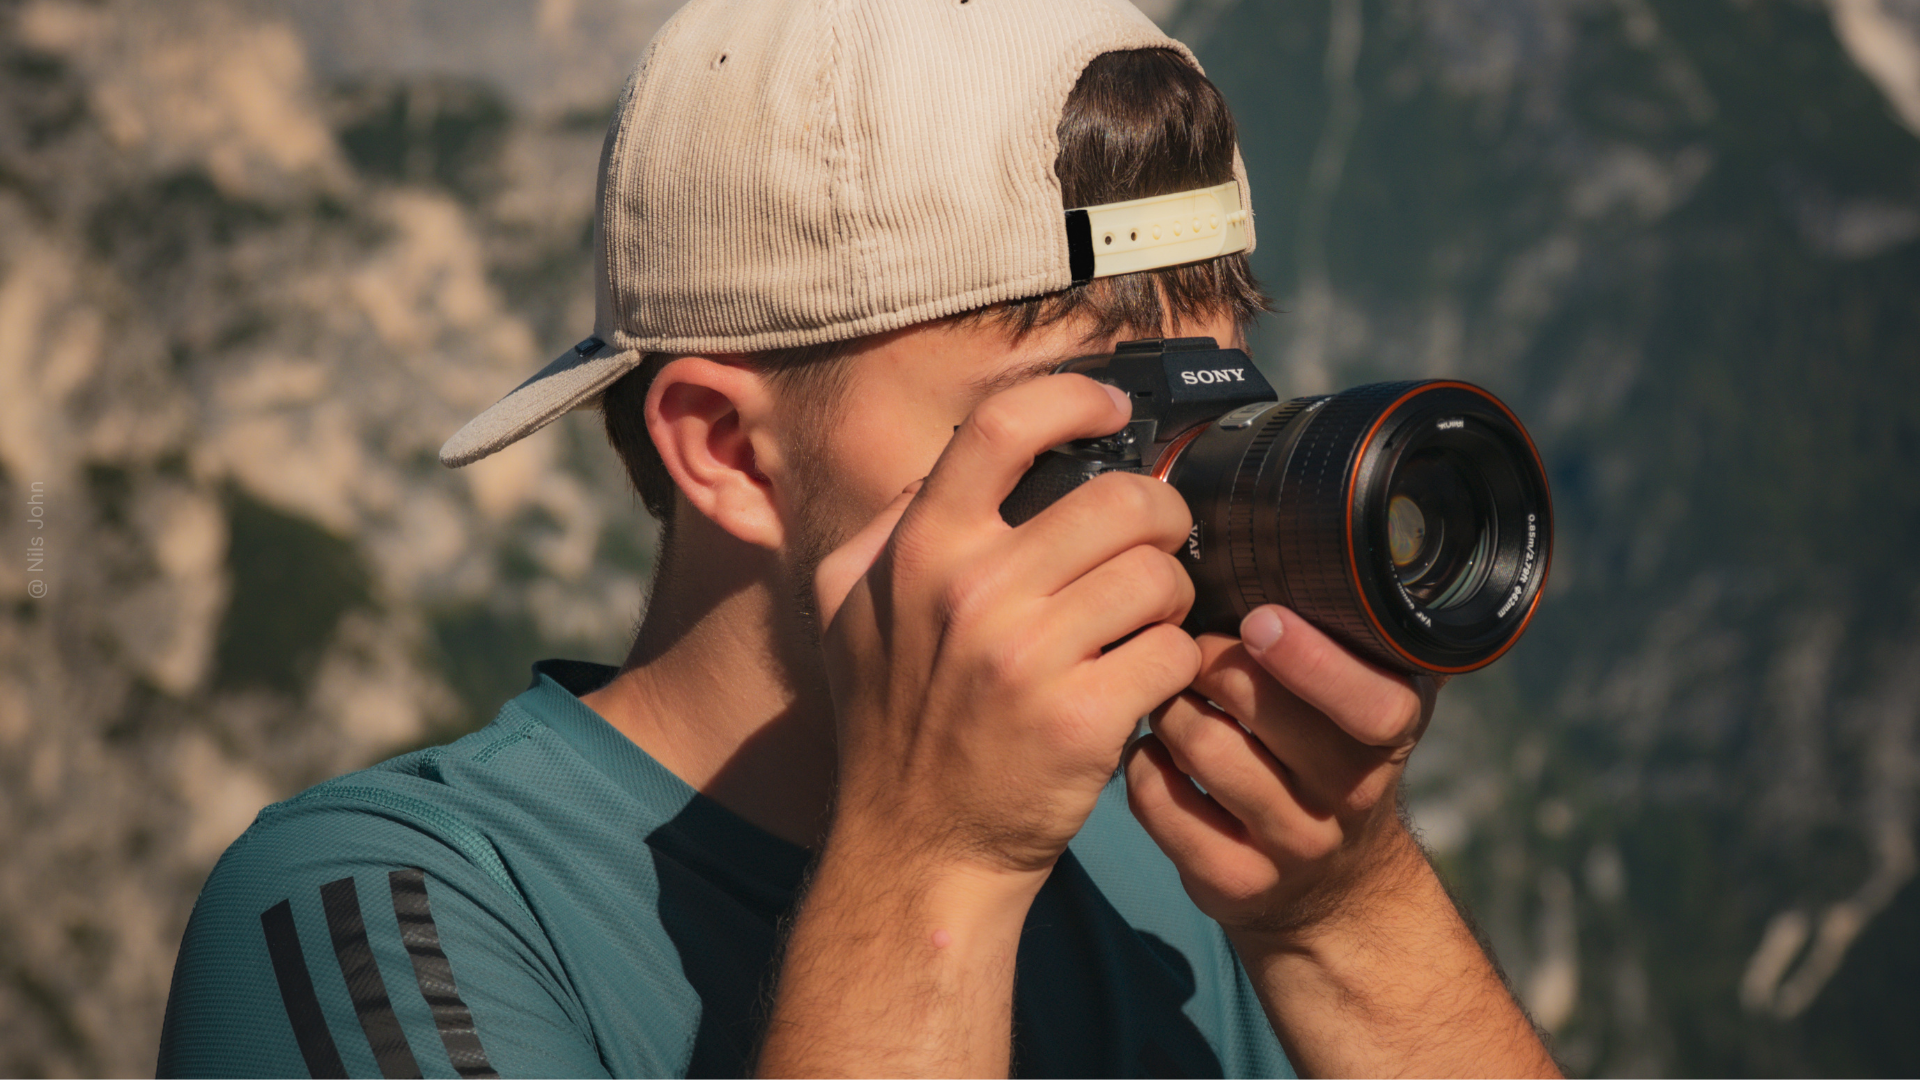
So, how fast is "fast"?
To get "sharp" images handheld, a rule of thumb states that the shutter speed required corresponds to the reciprocal of twice the focal length of the lens used.
This means: For a 100mm lens, at least 1/200s would be needed to render the subject sharply in the image. But we don't just want sharp images; we want to freeze movements, meaning the ability to capture moving parts in a moment that we cannot see with our own eyes due to their speed.
In the case of the HS Freeze 6, the shortest flash duration in this mode is only 1/19,000s. This means the flash only illuminates for this short period, regardless of the set shutter speed. If we increase the power of the device, we slow down the "freeze time." If you now increase the flash power by one f-stop on the HS Freeze 6, this results in a flash duration in Freeze Mode of 1/9,000s, which is still sufficient to capture splashing water or other moving objects.
With this speed, we can see every single drop of water, every tiny speck of dust from the powder bomb, every single hair of the model, frozen details – images that capture more than we can see with our own eyes.
Feature 3: Delay Function for stroboscopic effects
The delay technique is a form of photography that is new but has been practiced similarly with shoe-mount flashes. Stroboscopic flash or sequential flash refers to a special strobe in photography that emits short light pulses in very rapid succession. Stroboscopic photography makes it possible, for example, to combine the individual phases of a fast movement into a single shot.

If one takes stroboscopic flashing as a basis, similar results can be achieved with the delay function, which are not necessarily intended or required for fast movements.
The advantage is that it involves different flashes: the Rollei HS Freeze 6 and 4 flashes are absolutely predestined for this, as you can set this delay time directly on them.
An example
Select a total exposure time of five seconds for the photo. In the example, three HS Freeze 6 flash heads are in use. Select "Delay" in the menu on the flash heads; the automatic trigger can be varied from 1/100 second to 30 seconds. In the example, you set flash head one after one second, flash head two after three seconds, and the third Freeze after five seconds (setup sketch »).

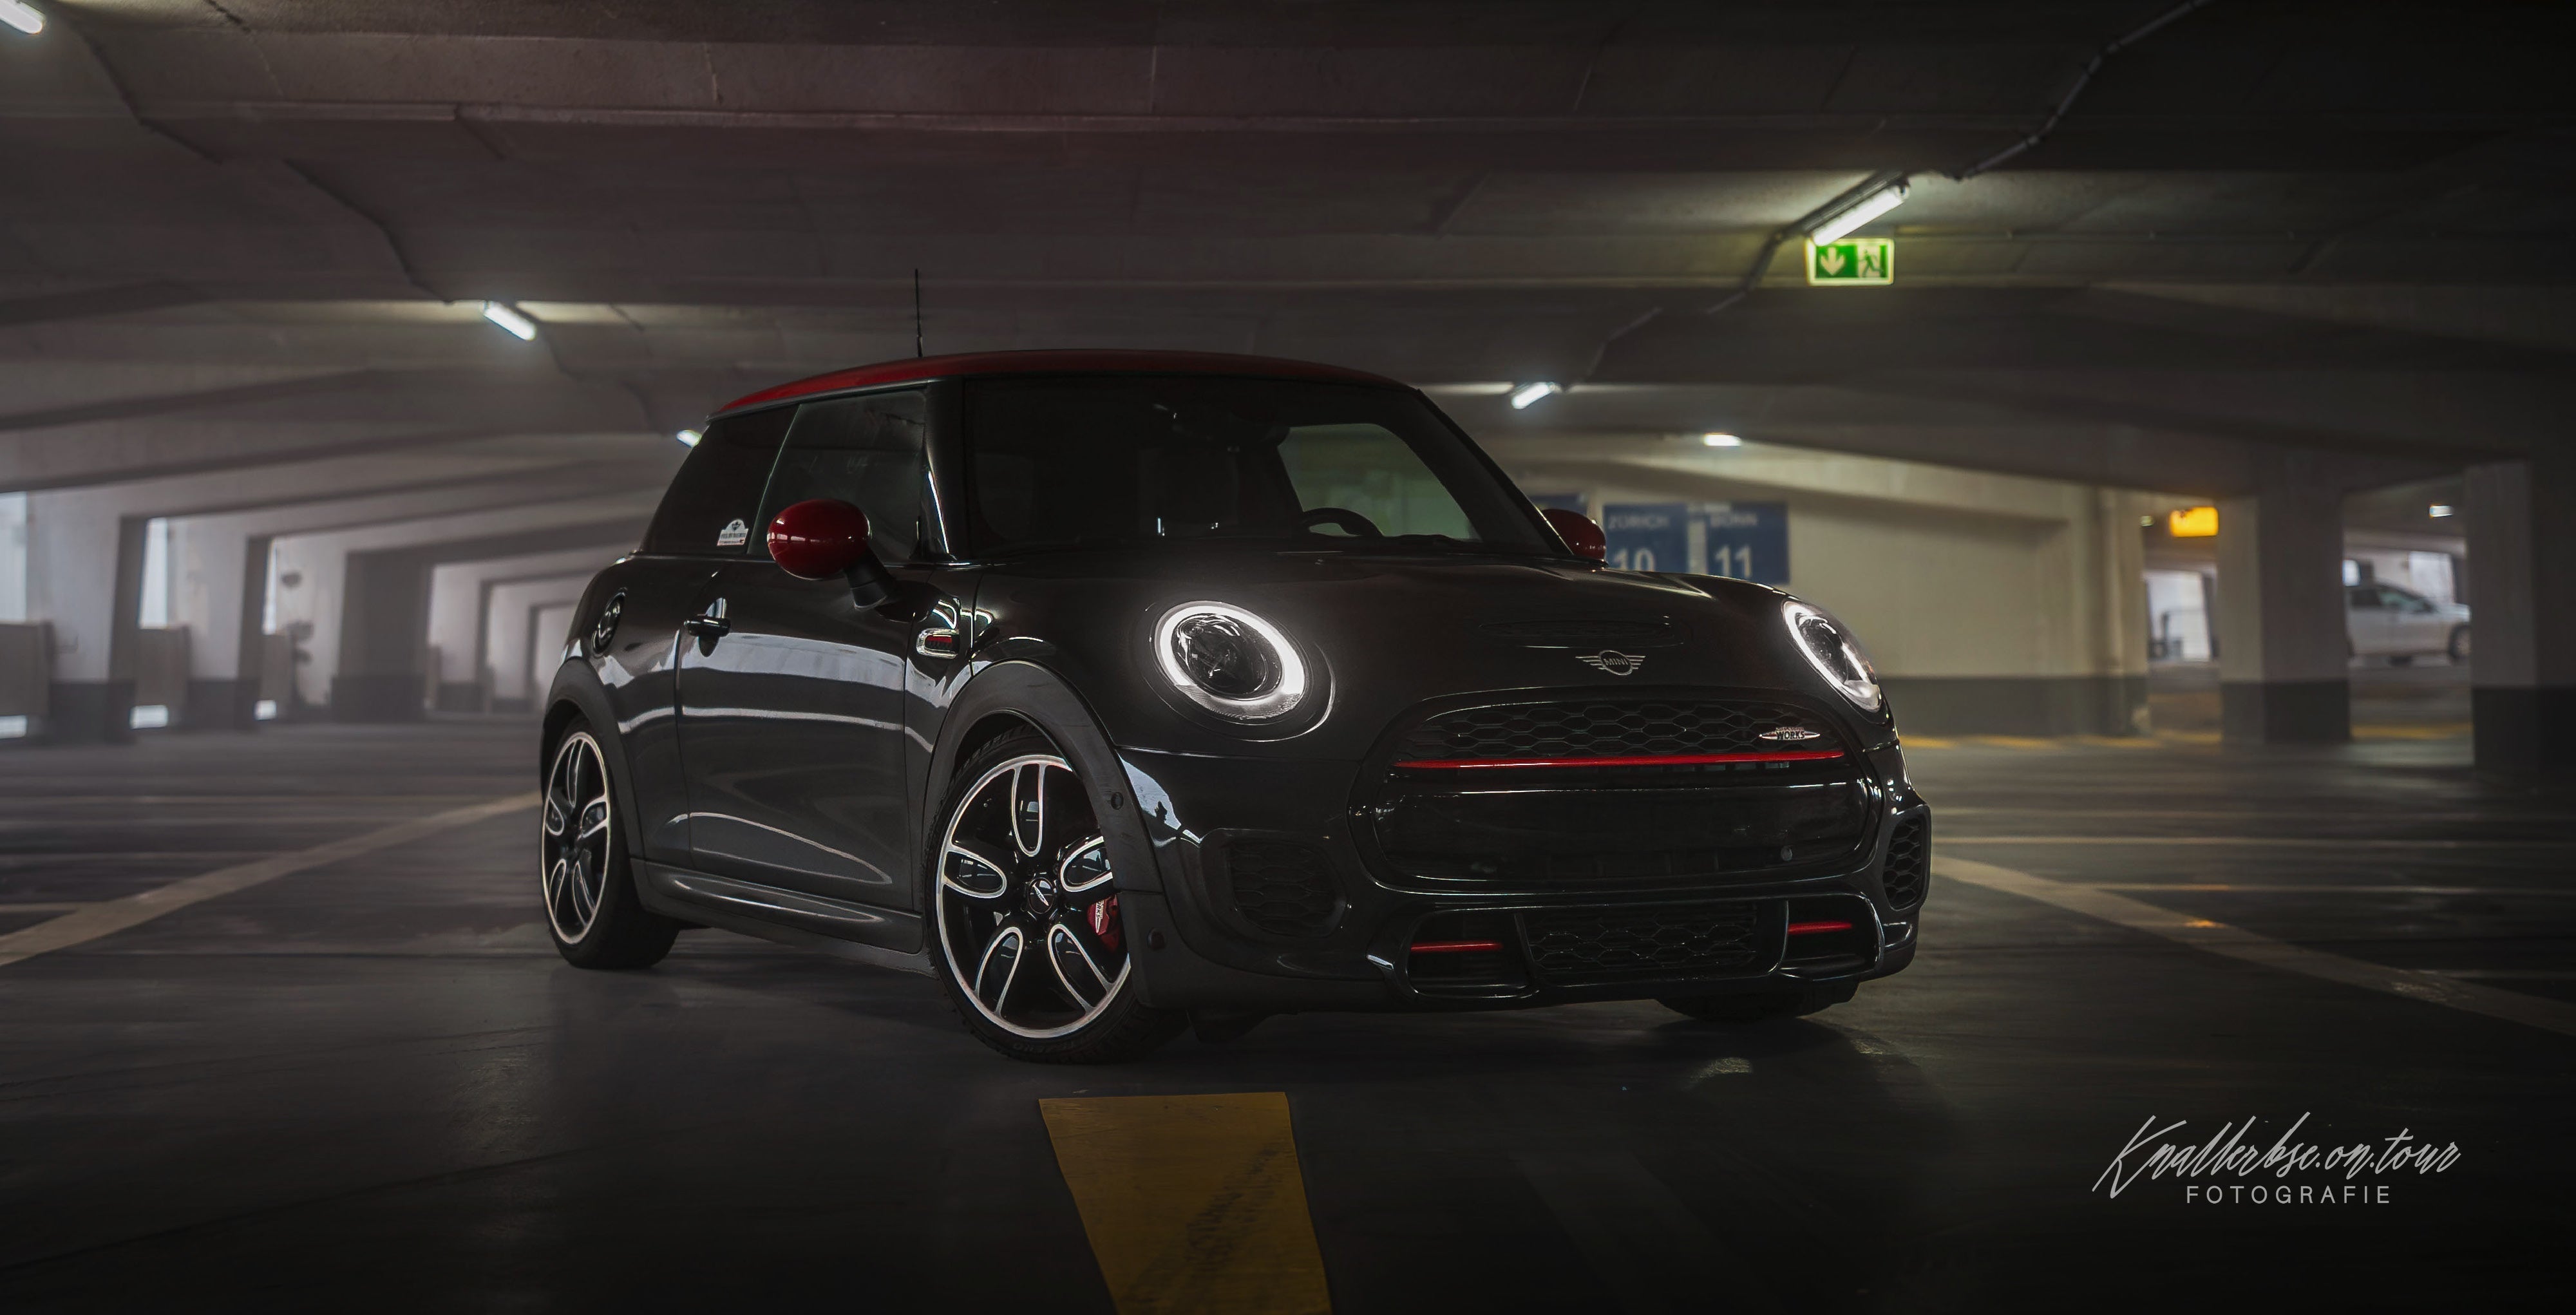
Feature 4: Flashing on the first or second curtain for impressive motion blurs
The right flash at the right time: When shooting with slower shutter speeds, you can trigger the flash on either the first or second curtain – resulting in consistent or false-looking motion blur.

A flash shot initially freezes everything it depicts in motion. Snapshots generally appear rigid and static.
However, if moving subjects with their own light source are synchronized to the second shutter curtain, the flash can capture the motion in the image. The photographed subject then creates an impression of dynamism and speed.
Synchronization on the 2nd curtain
The flash fires at the end of the exposure time, at the exposure synchronization time (up to 1/250 s) before the curtain closes (not at the beginning as usual).

With first curtain sync, the flash fires at the beginning with a short sync time, and then the ambient light is used to depict the movement.

shutter speed with a short flash duration, after the movement has been captured by the ambient light.
Feature 5: Easy Cap for product photography
For decades, it has been an important task for retailers and marketing companies to provide high-quality product photos with transparent backgrounds that can be flexibly used in image design.

With the Easy Cap/Mask Pattern function of our studio flashes, objects can be quickly and easily isolated. For this, the lighting setup is automatically switched between two or more shots, which allows for easier, automated mask creation on the final image.
Easy Cap/Mask Pattern creates two shots. One with the desired illumination of the subject (top right) and a second with the illumination of the background. At least two flash units are required for this.
Due to the exclusive background lighting, the subject stands out like a black silhouette (top left). This shot is later used in addition to the subject shot in post-processing.
Setup
A flash with a softbox is placed to the left of the camera as the main light. To the right of the camera, place a reflector to brighten the subject. Behind the subject, aim the second flash as pure background light.
Important: When setting up, the flash for the background lighting must not be visible in the image.
Editing
Simply open both photos in Adobe Photoshop (or a comparable program) and copy the silhouette as a new layer into the original image. Then, refine it with tonal correction until only black and white tones remain.
Then, select the silhouette layer via the Channels palette and invert it. Now, simply select the bottom layer in the Layers palette, press Ctrl + J on a PC – or Command + J on a Mac – and generate a new layer from the selection. Done! Now a desired background can be inserted as a new layer.
Share:
Why a Gimbal Head is so Important in Wildlife Photography
Little effort - big impact. Photoshoot with the Lumen Sticks
1 comment
Hallo,
ein Video von wäre echt super!