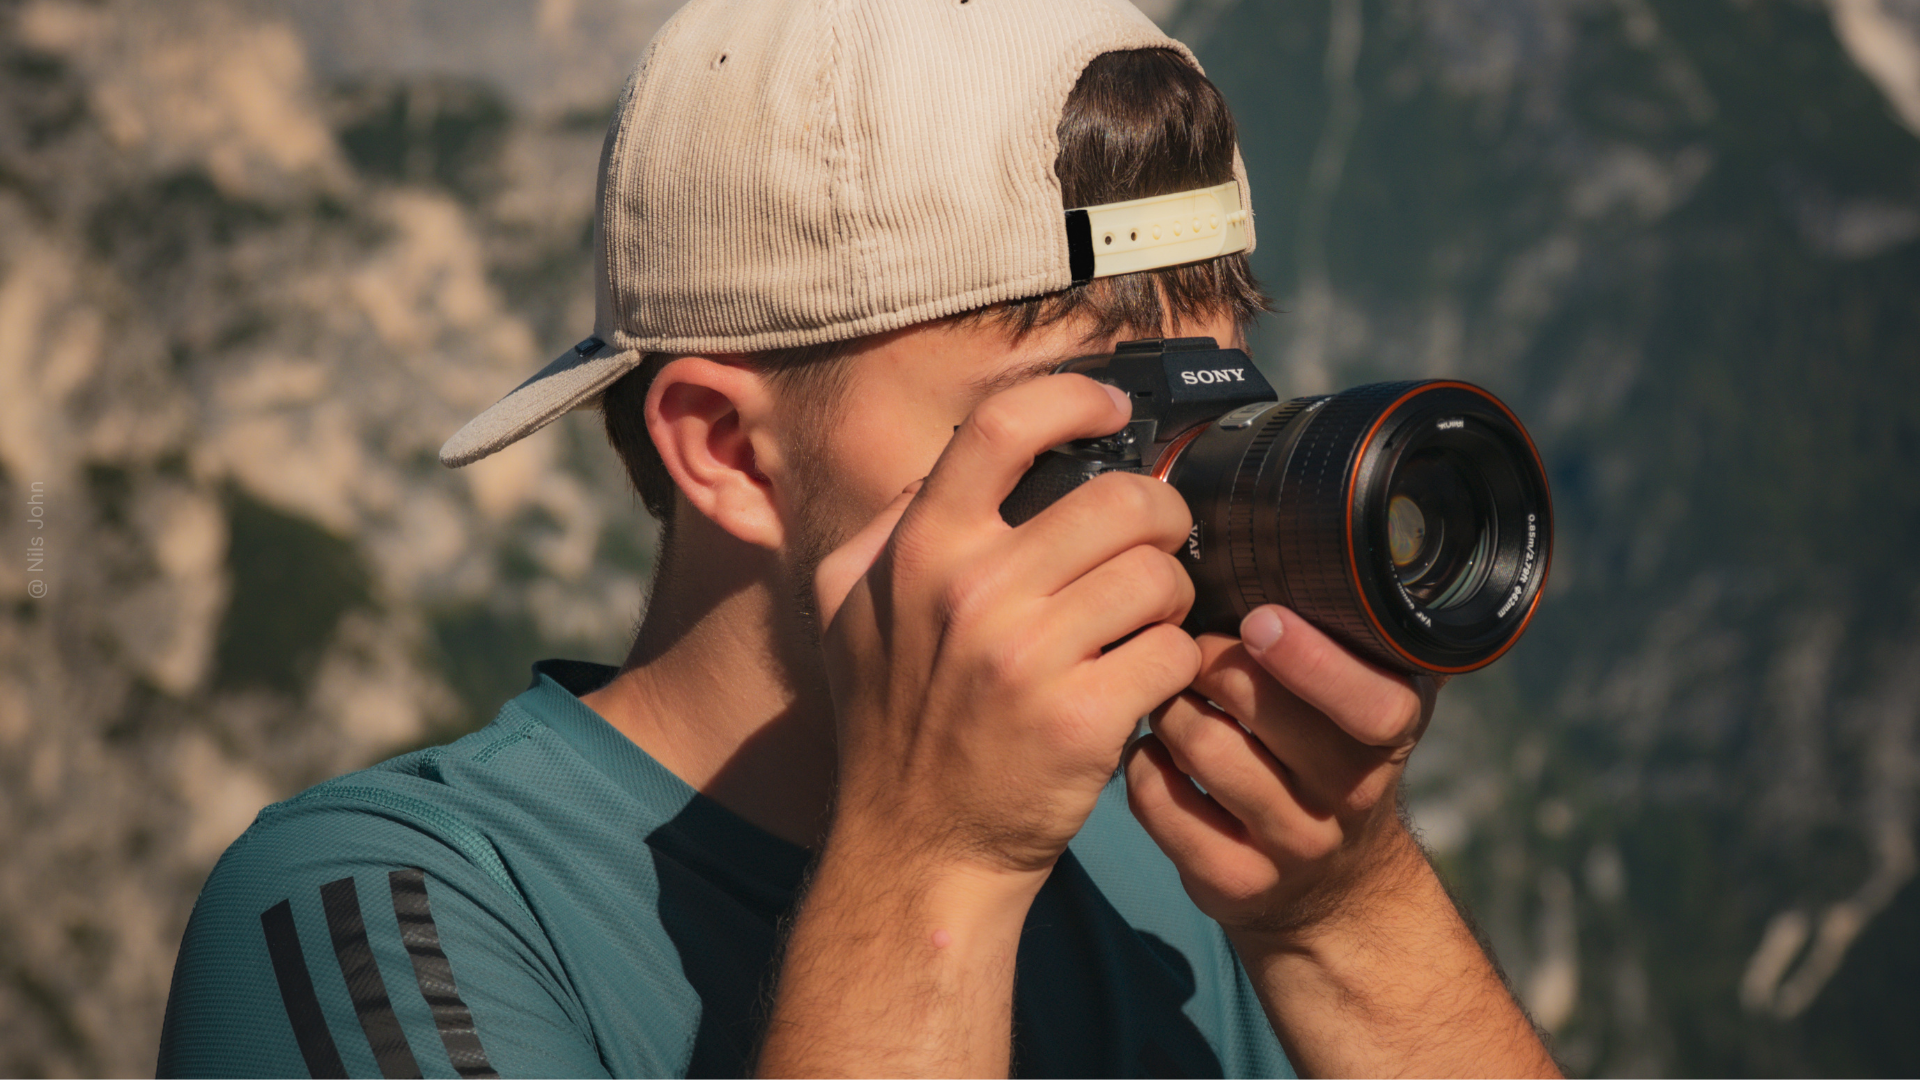
With a 24mm prime lens, you hold one of the most versatile tools in photography. Landscapes that draw the viewer into the picture. Architecture that appears imposing. Perspectives that transform everyday scenes into something special. But wide-angle photography has its peculiarities. Pictures can quickly appear empty, distorted, or simply boring.
 With these 8 tips, you'll get the most out of your 24mm lens and avoid typical beginner mistakes.
1. Get Close to Your Subject – Closer Than You Think
The biggest mistake with a 24mm lens? Staying too far away. With a telephoto lens, you create distance; with a wide-angle, the opposite is true. Get close to your main subject – really close. Closer than it feels right at first.
A 24mm focal length dramatically amplifies differences in size. What's close to the camera appears huge. What's farther away shrinks. This exact effect makes your pictures exciting. A rock in the foreground becomes the dominant element, while the mountain range behind provides context. A flower directly in front of the lens becomes the protagonist of your landscape shot.

In practice, this means: for landscapes, consciously choose something for the foreground and get close. For architecture, dare to get closer to the building than you were used to with your kit lens. For street photography, get close to the scene, become part of the action. This proximity creates intensity and draws the viewer directly into the picture.
2. The Foreground Decides Success or Boredom
With a 24mm lens, you inevitably capture a lot of the scene in front of you. If this foreground is empty and uninteresting, your whole picture will appear flat. An interesting foreground, however, transforms a mediocre shot into a great photo.
Consciously look for something for the foreground. In landscapes, these can be stones, plants, streams, or interesting ground textures. In the city, you can use pavement slabs, puddle reflections, road markings, or stairs. These elements lead the eye into the picture and give your shot depth.


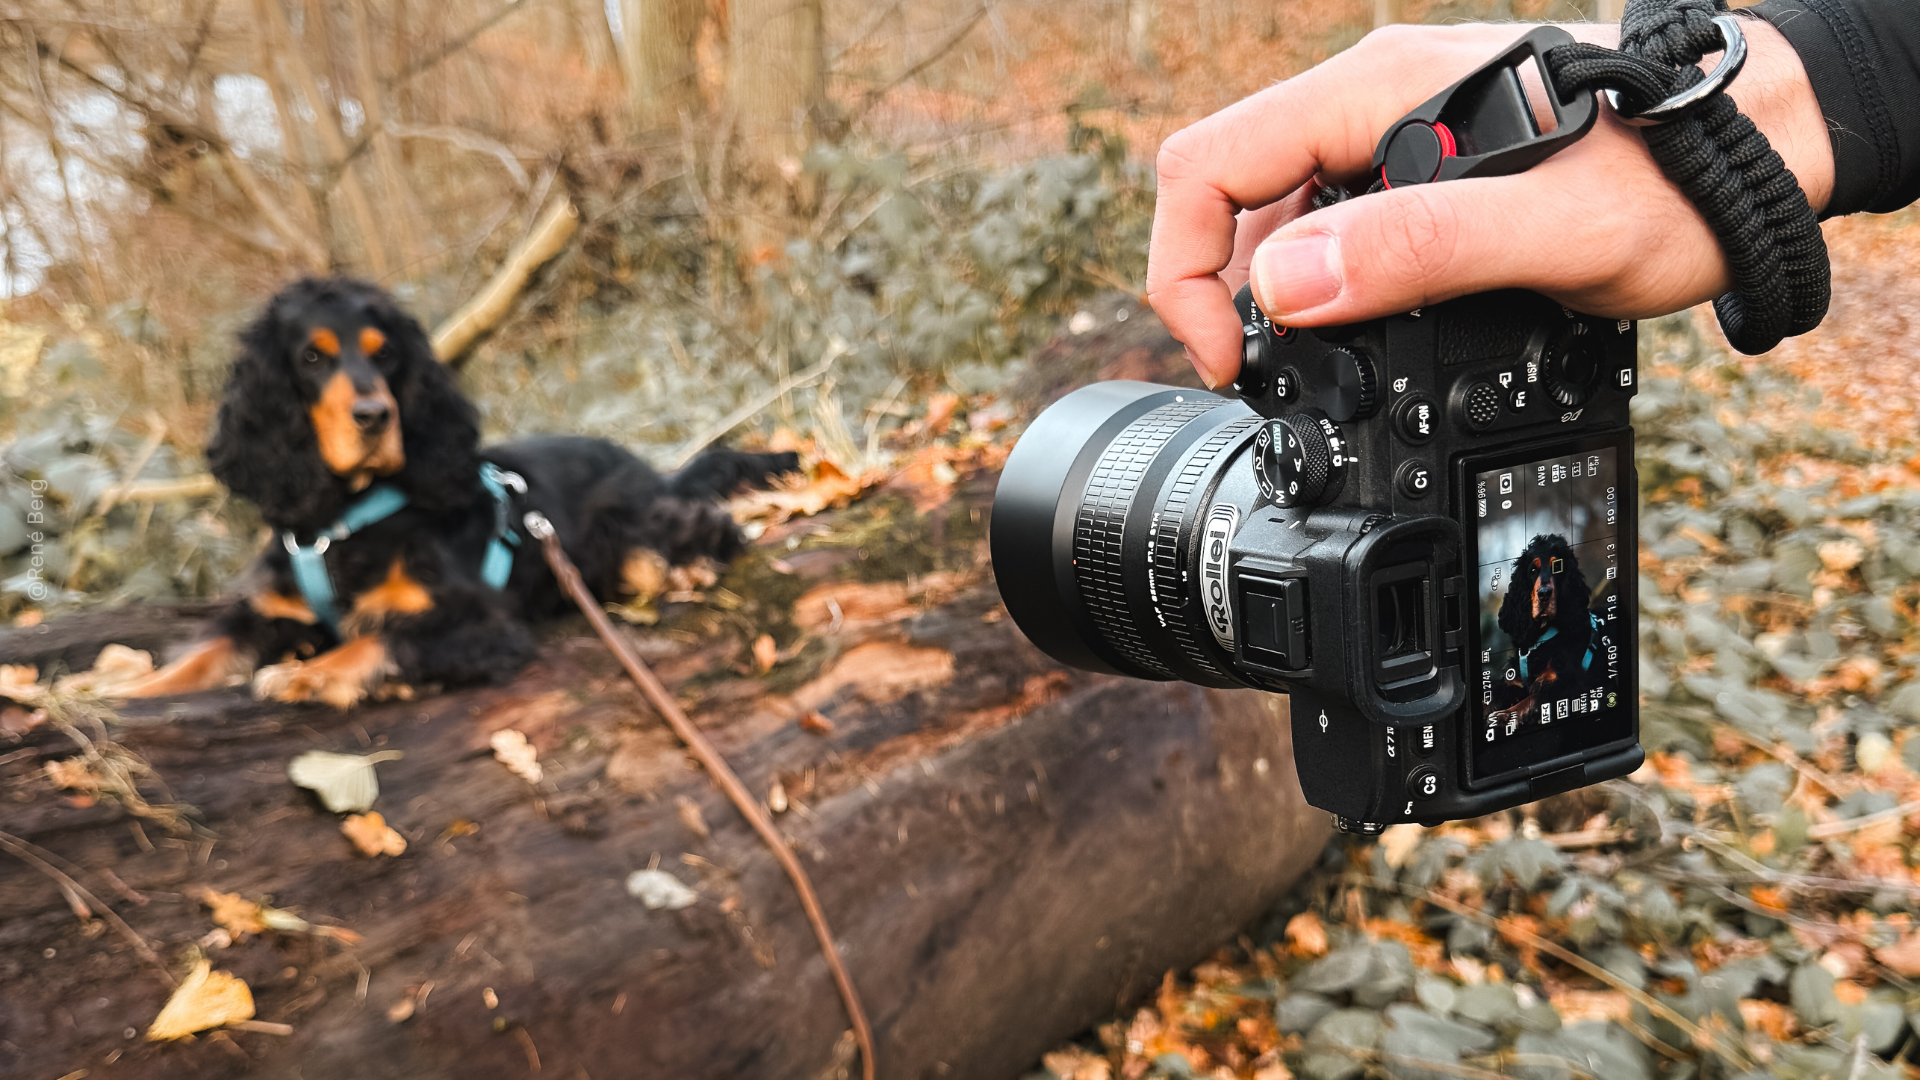
Here's a practical tip: get down low with your camera. Kneel, lie on the ground, photograph from a worm's-eye view. Suddenly, things in the foreground become much more prominent. A small stone becomes a striking element. Blades of grass dramatically jut into the picture. These low perspectives are often key to impactful 24mm shots. Your pants might get dirty, but your pictures will thank you.
3. The Horizon Rule: Top, Bottom – But Not in the Middle
At 24mm, the horizon is particularly prominent. The wide angle of view shows so much of the scene that the horizon line distinctly divides your image. Where you place it determines the impact of your shot.
The rule of thirds is your best friend here. Place the horizon in the upper or lower third, depending on what you want to emphasize. A low horizon gives the sky space – perfect for dramatic clouds, sunsets, or interesting light. A high horizon emphasizes the foreground and is ideal when there are exciting structures or subjects there.


A horizon line in the middle of the picture usually looks static and boring. Of course, there are exceptions – if you consciously work with symmetry or photograph reflections. But as a general rule: avoid the middle. And one more thing: make sure the horizon is straight. With 24mm, even small tilts are extremely noticeable. Many cameras have a digital level – use it.
4. Portraits with 24mm – But Done Right
Now, this gets controversial: portraits with 24mm. Many photographers advise against it, and for good reason. The wide-angle distortion makes objects at the edge of the image appear larger. With faces, this leads to unflattering results – the nose looks huge, the face elongated.
Does this mean you shouldn't take portraits with 24mm? No! You just need to know the rules. For classic portraits focusing solely on the face, 24mm isn't ideal – you'd better use your 85mm. But for environmental portraits, where the person is shown in their context, 24mm is fantastic.


A few rules: keep faces in the center of the image, not at the edge. Don't shoot from too close – a few meters distance is enough. Show the person in their environment – the artist in their studio, the barista in their cafe, the hiker in the mountains. For group photos, make sure the people at the edge are slightly turned towards the camera, not standing parallel. This avoids the strongest distortions. Also, use the distortion creatively: dynamic sports shots or photos with a sense of action benefit from the dramatic perspective.
5. Leading Lines are Your Secret to Depth
Leading lines are always helpful in photography, but with 24mm, they become your absolute ace up your sleeve. The wide angle of view allows you to capture lines from the very front to far into the background, creating incredible spatial depth.
Roads, paths, rivers, railings, fences, train tracks, rows of houses – all of these are perfect leading lines. They guide the viewer's eye through the image and create a three-dimensional effect. Lines originating from the lower corners of the image and leading towards the center or background are particularly effective.


In practice: position yourself so that these lines are shown to their best advantage. Often you have to crouch down, lie on the ground, or find an elevated vantage point. A road coming straight at you is okay. A road leading diagonally through the picture is great. Experiment with your position until the lines structure the image perfectly. With 24mm, you have the luxury of being able to show lines from very close up to infinity – make use of that.
6. Dare to Use Extreme Perspectives
Here the 24mm shows its true strength: unusual perspectives. What looks strange with a normal lens can appear spectacular with 24mm. The strong perspective distortion enhances the effect and turns everyday subjects into something special.
Lie on the ground and shoot upwards. Buildings suddenly appear monumental, trees like giants, people like superheroes. The worm's-eye view with the camera almost at ground level transforms even small plants into imposing protagonists. Or use elevated viewpoints and shoot steeply downwards – this creates fascinating, almost abstract compositions.


With 24mm, you can be bold. The most interesting shots rarely come from eye level. Climb on walls, lie in puddles, stand on benches. Shoot from angles your camera app can never show. These unusual perspectives make the difference between a snapshot and an image that makes people stop and look.
7. The Image Edges Are More Important Than You Think
What might be secondary with other lenses is crucial with 24mm: the image edges. The wide angle of view captures so much that unwanted things can quickly creep into the picture. A trash can, a parked car, a cut-off tree, your backpack on the ground – all of this suddenly ends up in the corner of your photo.
Make it a habit to scan the entire frame before pressing the shutter. The corners are particularly easy to overlook. In architectural photography, make sure that buildings at the edges are not unpleasantly distorted or that important elements are cut off. In landscapes, distracting branches or objects at the edge of the image can ruin the entire impression.
Often, a small step to the side or a minimal adjustment of the frame is enough to eliminate disturbances. Sometimes you just have to accept that a certain viewpoint doesn't work because too much unwanted material enters the frame. With 24mm, you can't "zoom out" as easily as with a zoom lens – so you have to change your position. This is not a limitation, but it forces you to compose more consciously.
8. Symmetry and Patterns are Particularly Strong with 24mm
The 24mm lens is fantastic for showcasing symmetries and patterns impressively. The straight lines and wide angle of view allow you to create symmetrical compositions that leave a strong visual impression on the viewer.
Architecture is particularly suitable for this. Long corridors, symmetrical facades, modern buildings with repeating elements – all of this looks even more impressive with 24mm. The trick: position the camera exactly in the middle and make sure it is perfectly straight. Even small deviations are immediately noticeable in symmetrical compositions and disturb the effect.

You can also find symmetries in nature. Reflections in lakes work excellently with 24mm – you get both the landscape and its reflection entirely in the picture. Radial patterns, such as flowers photographed from below, or tree-like structures benefit from the wide angle of view. For patterns: the closer you get, the more you fill the entire frame with the pattern – this creates graphically strong shots.
Your Path to Better 24mm Photos
24mm photography requires a different way of thinking than what you might be used to with your kit lens. It's not about bringing the subject closer, but about creating context and drama through the relationship between foreground and background. With these 11 tips, you have the tools to avoid common mistakes and fully exploit the strengths of your 24mm lens.
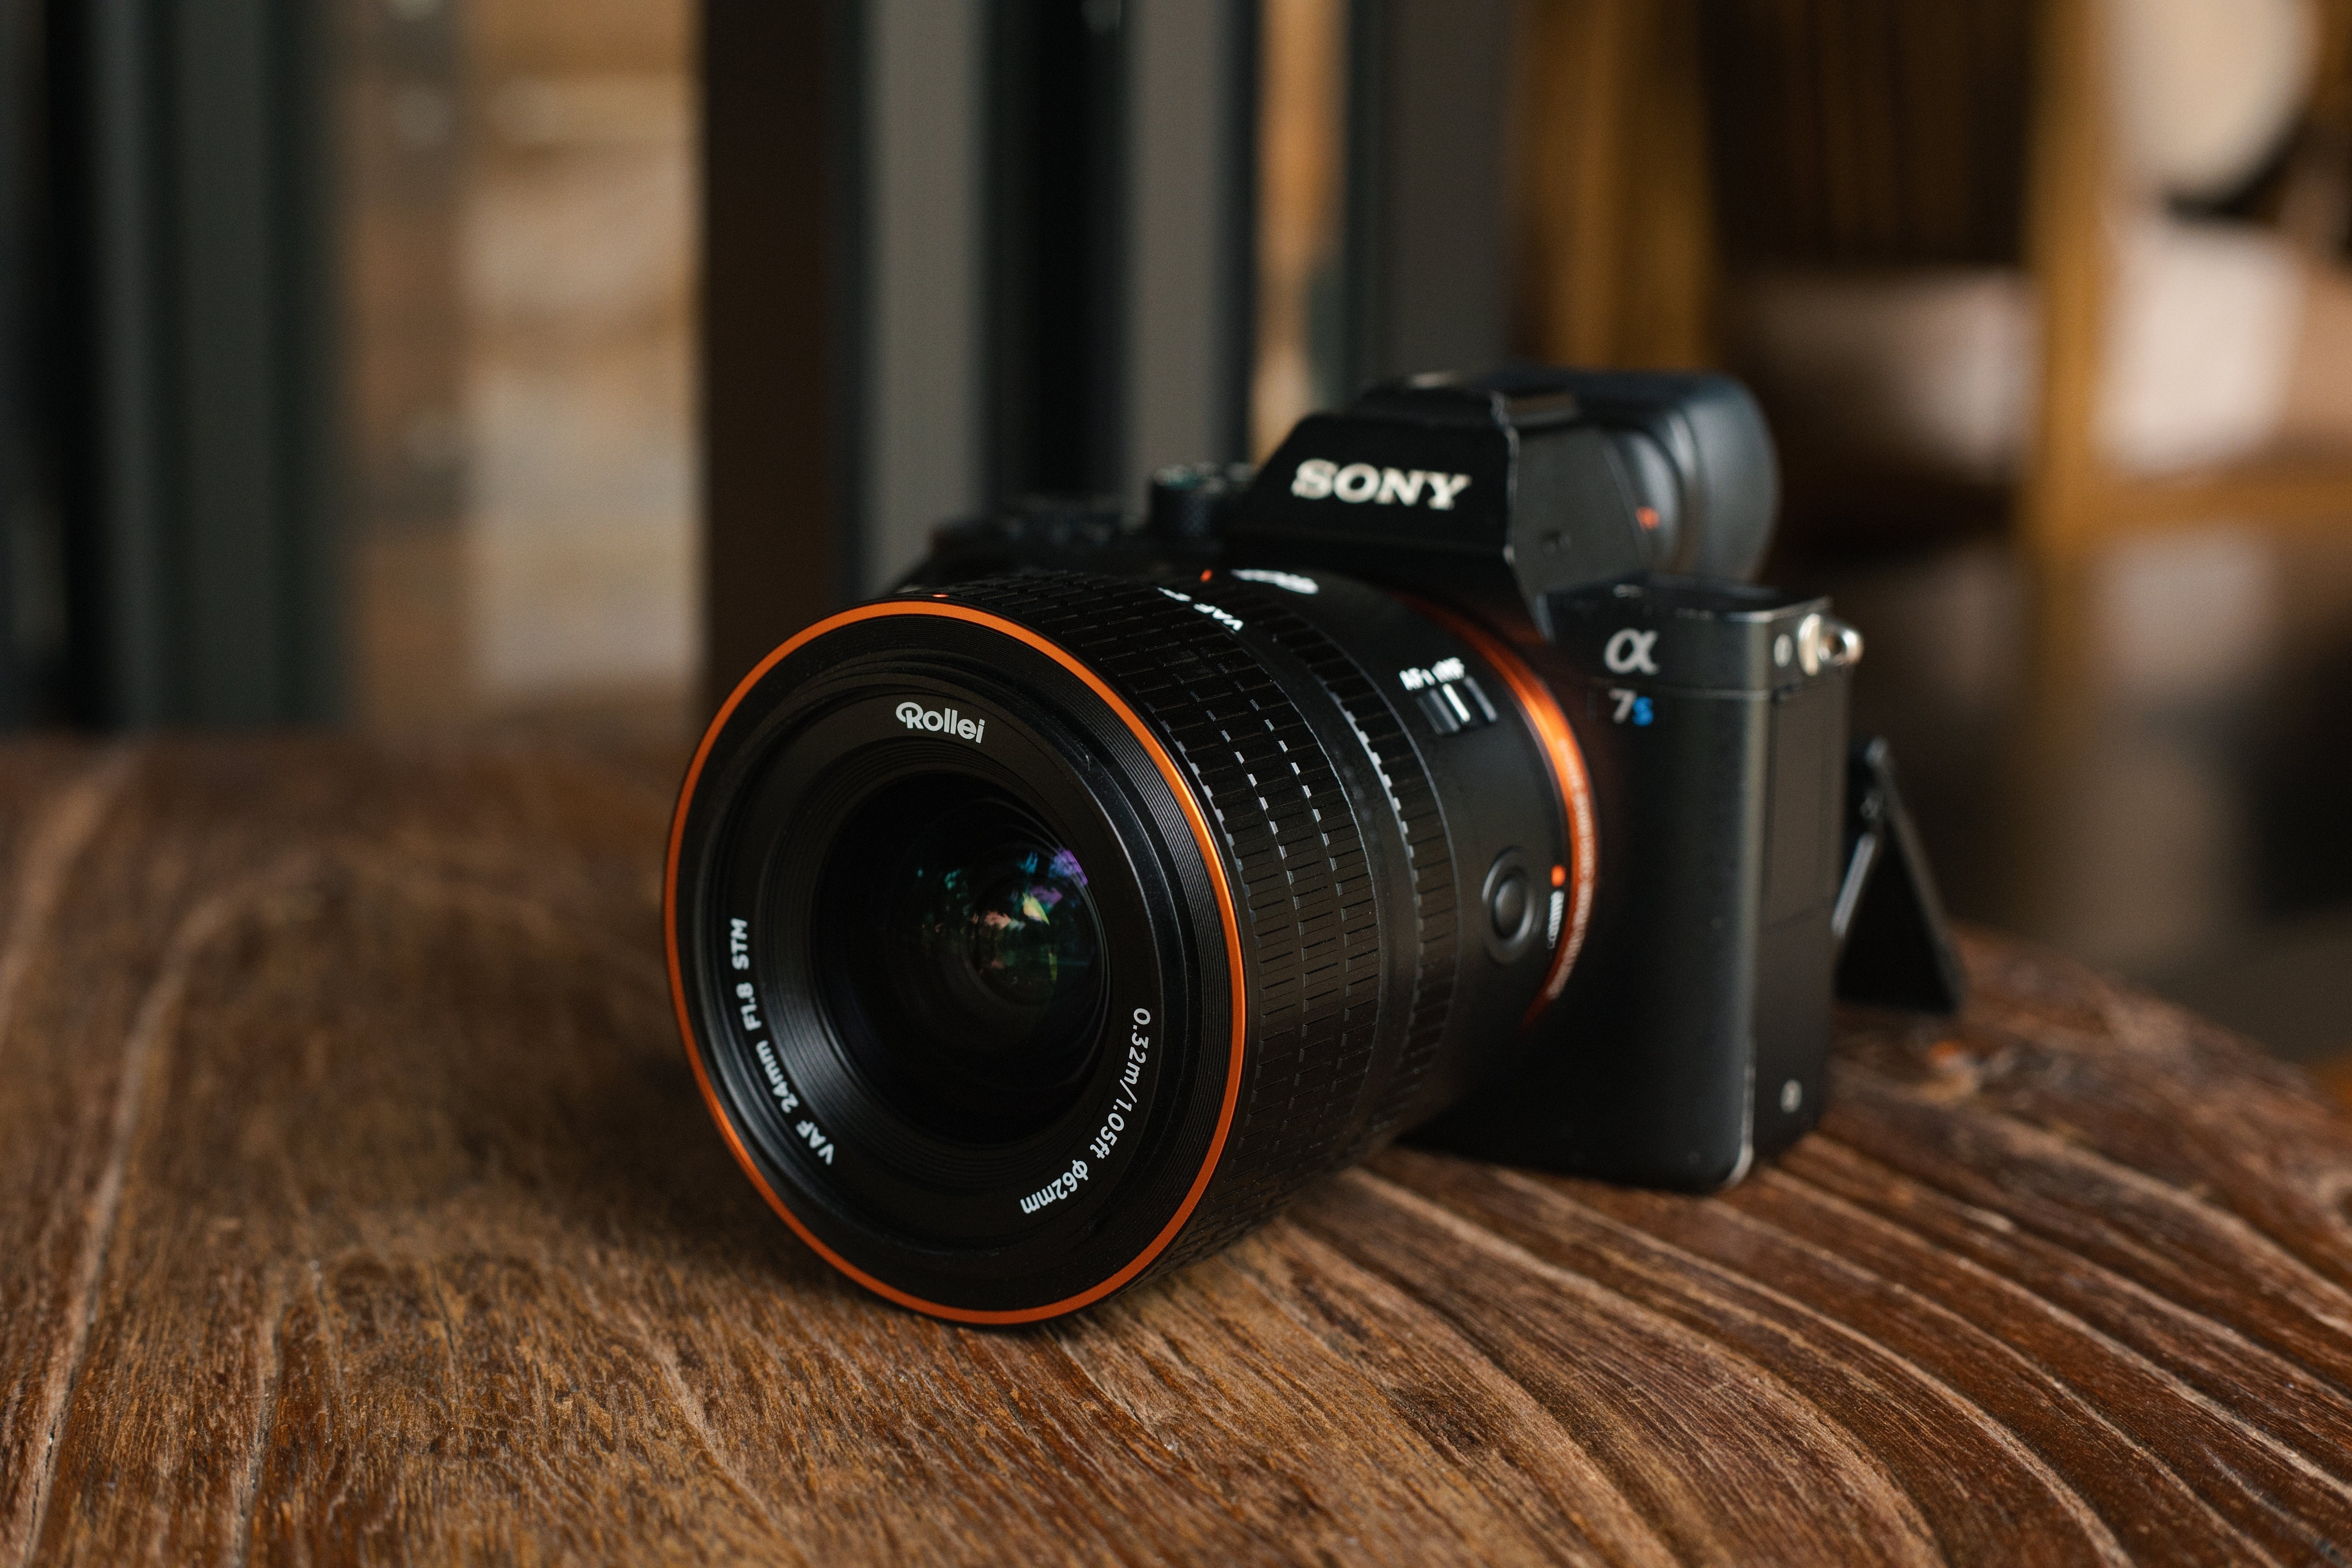
The Rollei 24mm F/1.8 is not just for landscapes and architecture. It's a creative tool for street photography, travel, vlogs, and much more. The F/1.8 aperture gives you the freedom to shoot even in low light, and the creamy bokeh allows you to isolate subjects despite the wide angle.

Share:
Lens Terms Explained – What Do F, AF, MF & Co. Mean?
Viltrox AF 16mm F/1.8 in a Practical Test with Stephan Wiesner